Monday, 2 June 2014

Update on the raised beds

I have been so preoccupied lately with getting my hands dirty in the garden (I do own garden gloves, honestly, I just don't often wear them!) that I have failed to post some updates on the actual progress of the garden - the completion of the raised vegetable beds, what has been planted and what is and isn't growing. So, since I need to take a break from baking in the sun and fighting off mosquitos, I will give you a quick update.


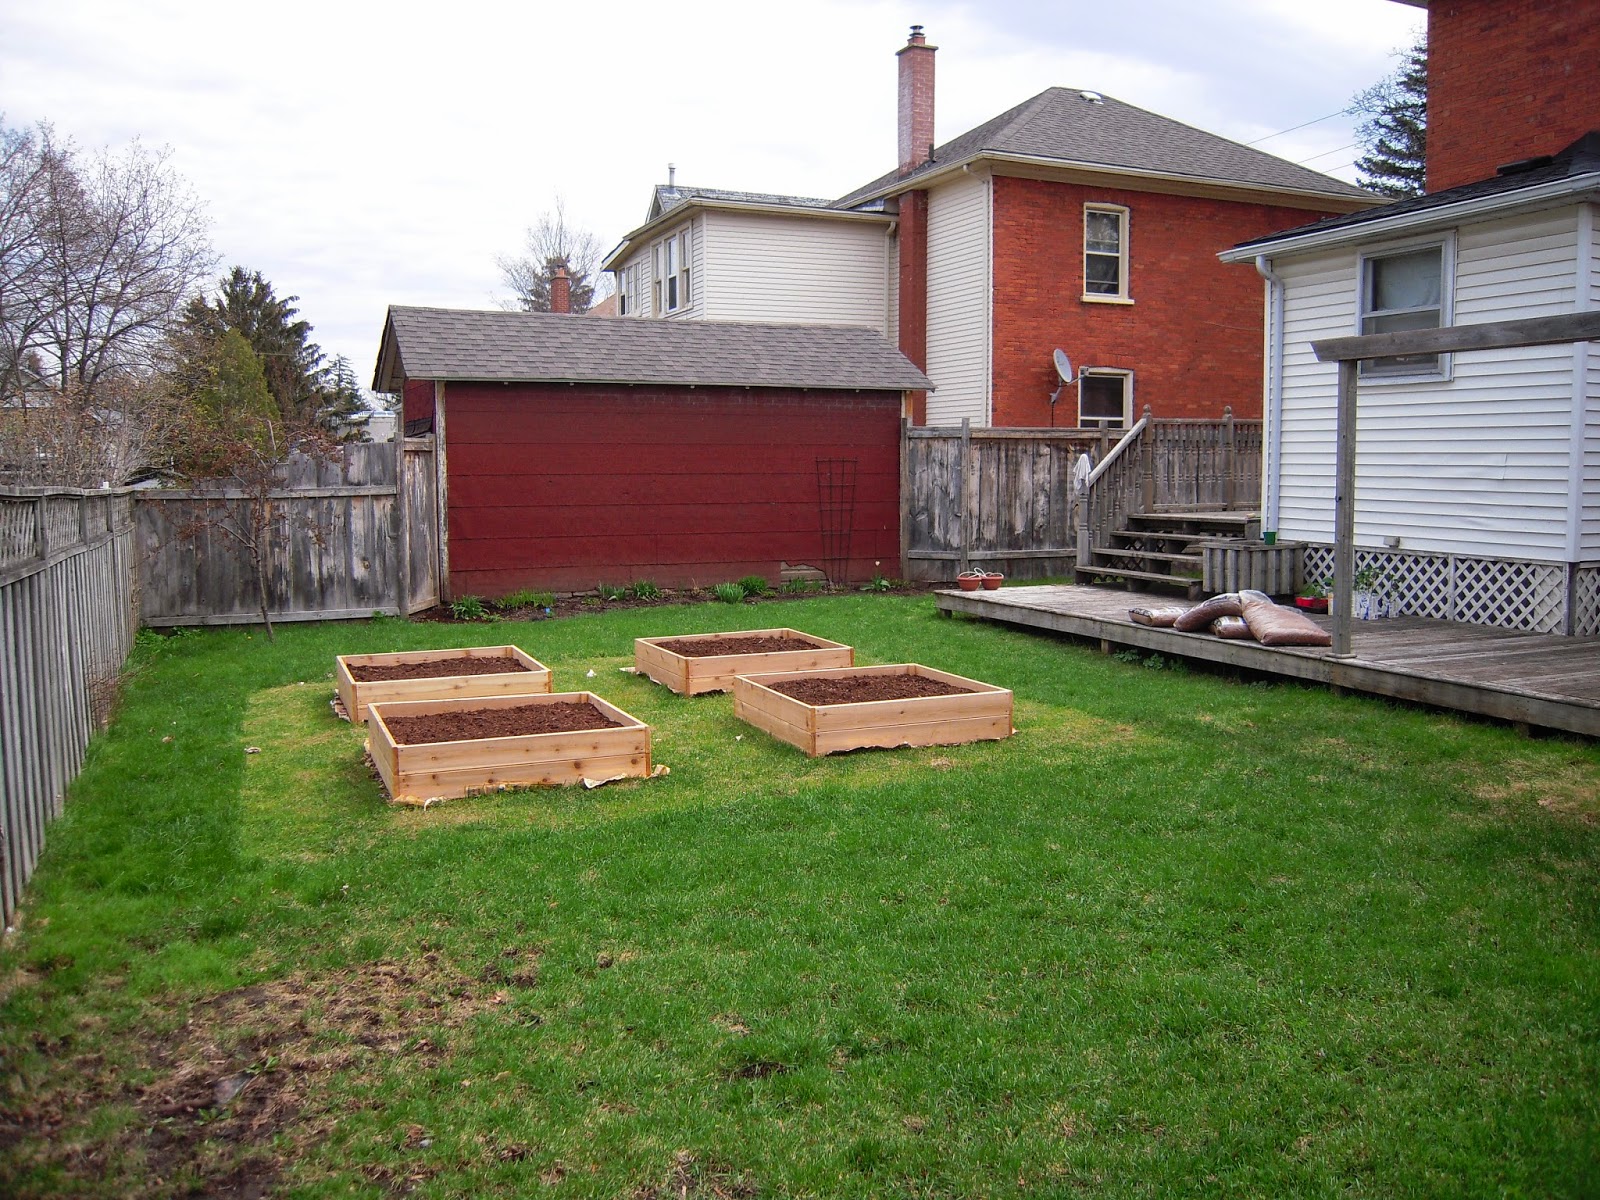
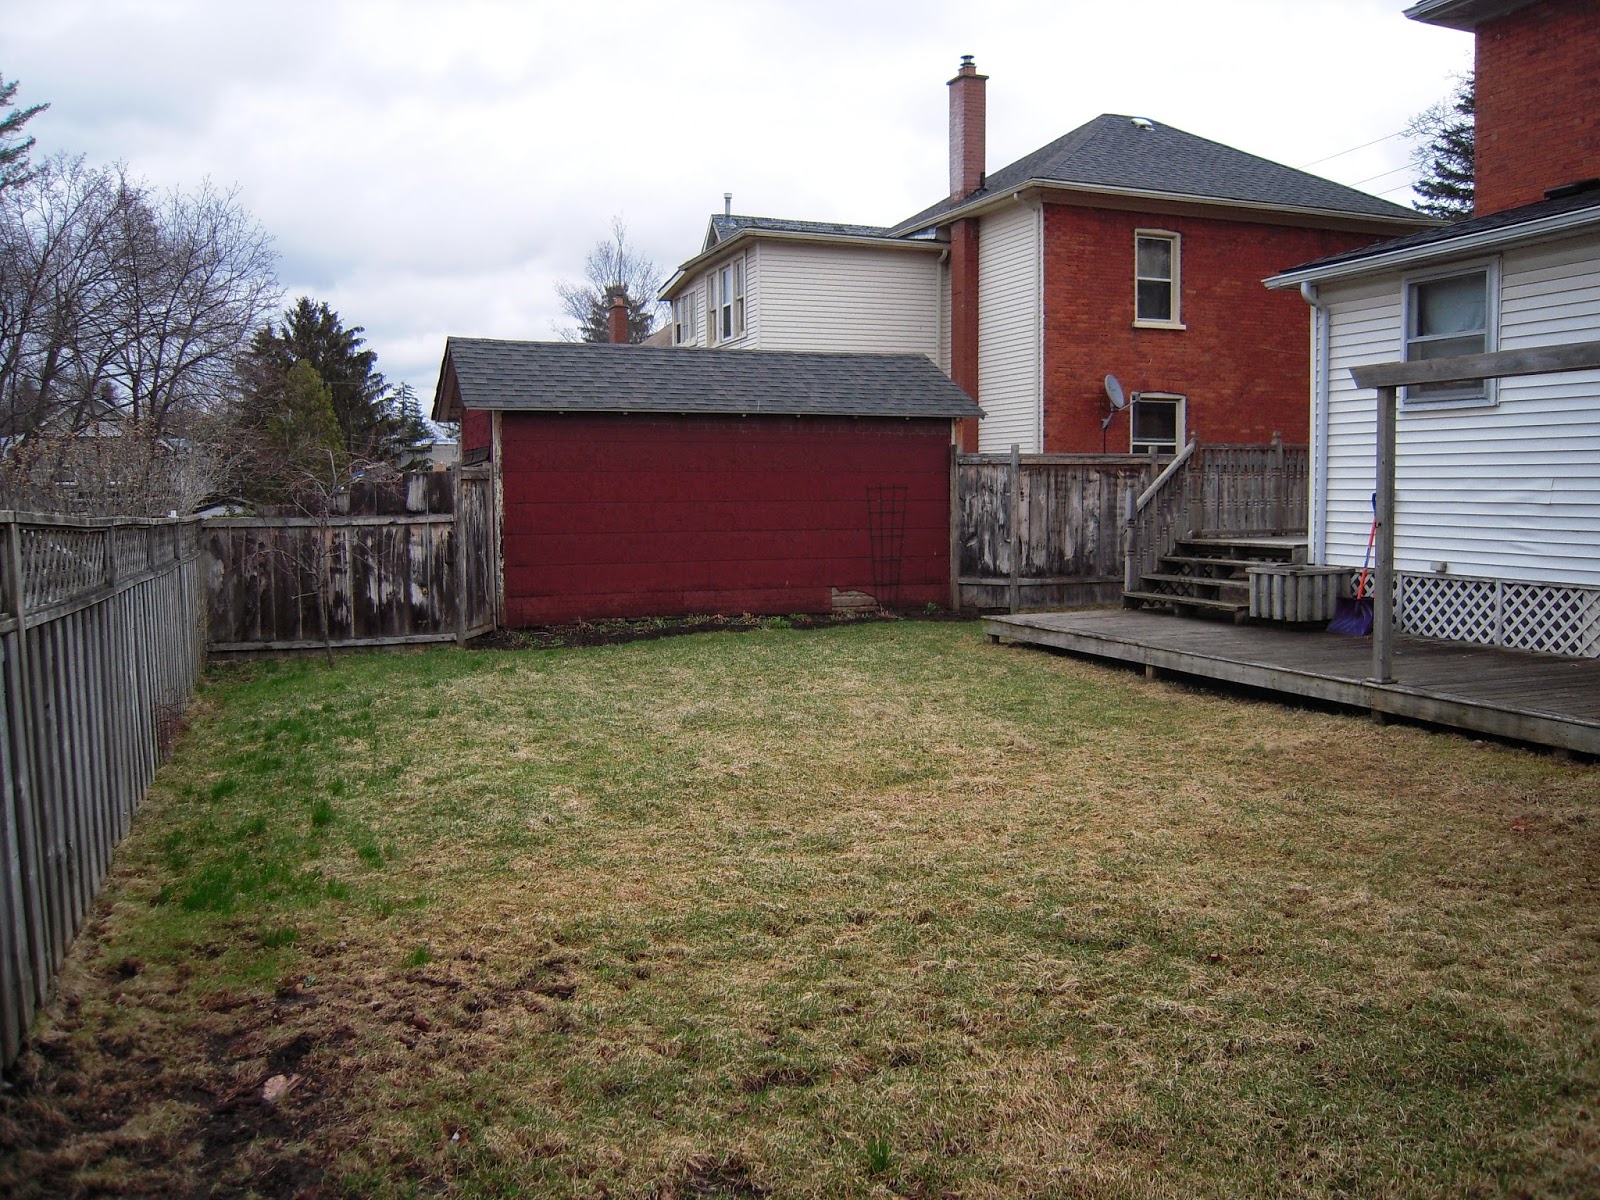
As you can see from the photos above, there has been a lot of work going on in the back yard! The raised beds and surrounding area are complete. The beds measure 4 feet by 4 feet with approximately 3 feet spacing in between the boxes. They were built using cedar and treated decking screws. The cost to build the boxes was approximately $200 - as I mentioned previously, I did not shop around for wood, so I'm sure it is possible to get some cheaper wood and as far as deck screws goes, they can be a bit pricey, but the bigger the pack the cheaper they are...the problem with that is I knew we didn't need 500 screws, so I had to go with the smaller, slightly more expensive option. Surrounding the beds is natural cedar mulch, in total I think 18-20 bags were used at a cost of $2.99 per bag. The boarder keeping everything neat and tidy is made of cement paving slabs, they were basically the cheapest we could find, just something to hold the weed barrier ($20 for one roll, $15 for the landscape staples) down and make a clean edge. The pavers were $1.49 each and 46 were used. The beds were filled with a mix of compost and peat moss. I didn't track the cost as closely as I would have liked because we hopped from one store to another over the course of a few weekends buying whatever was on sale - I checked weekly flyers to get THE best price I could - who wants to pay big money for dirt?!

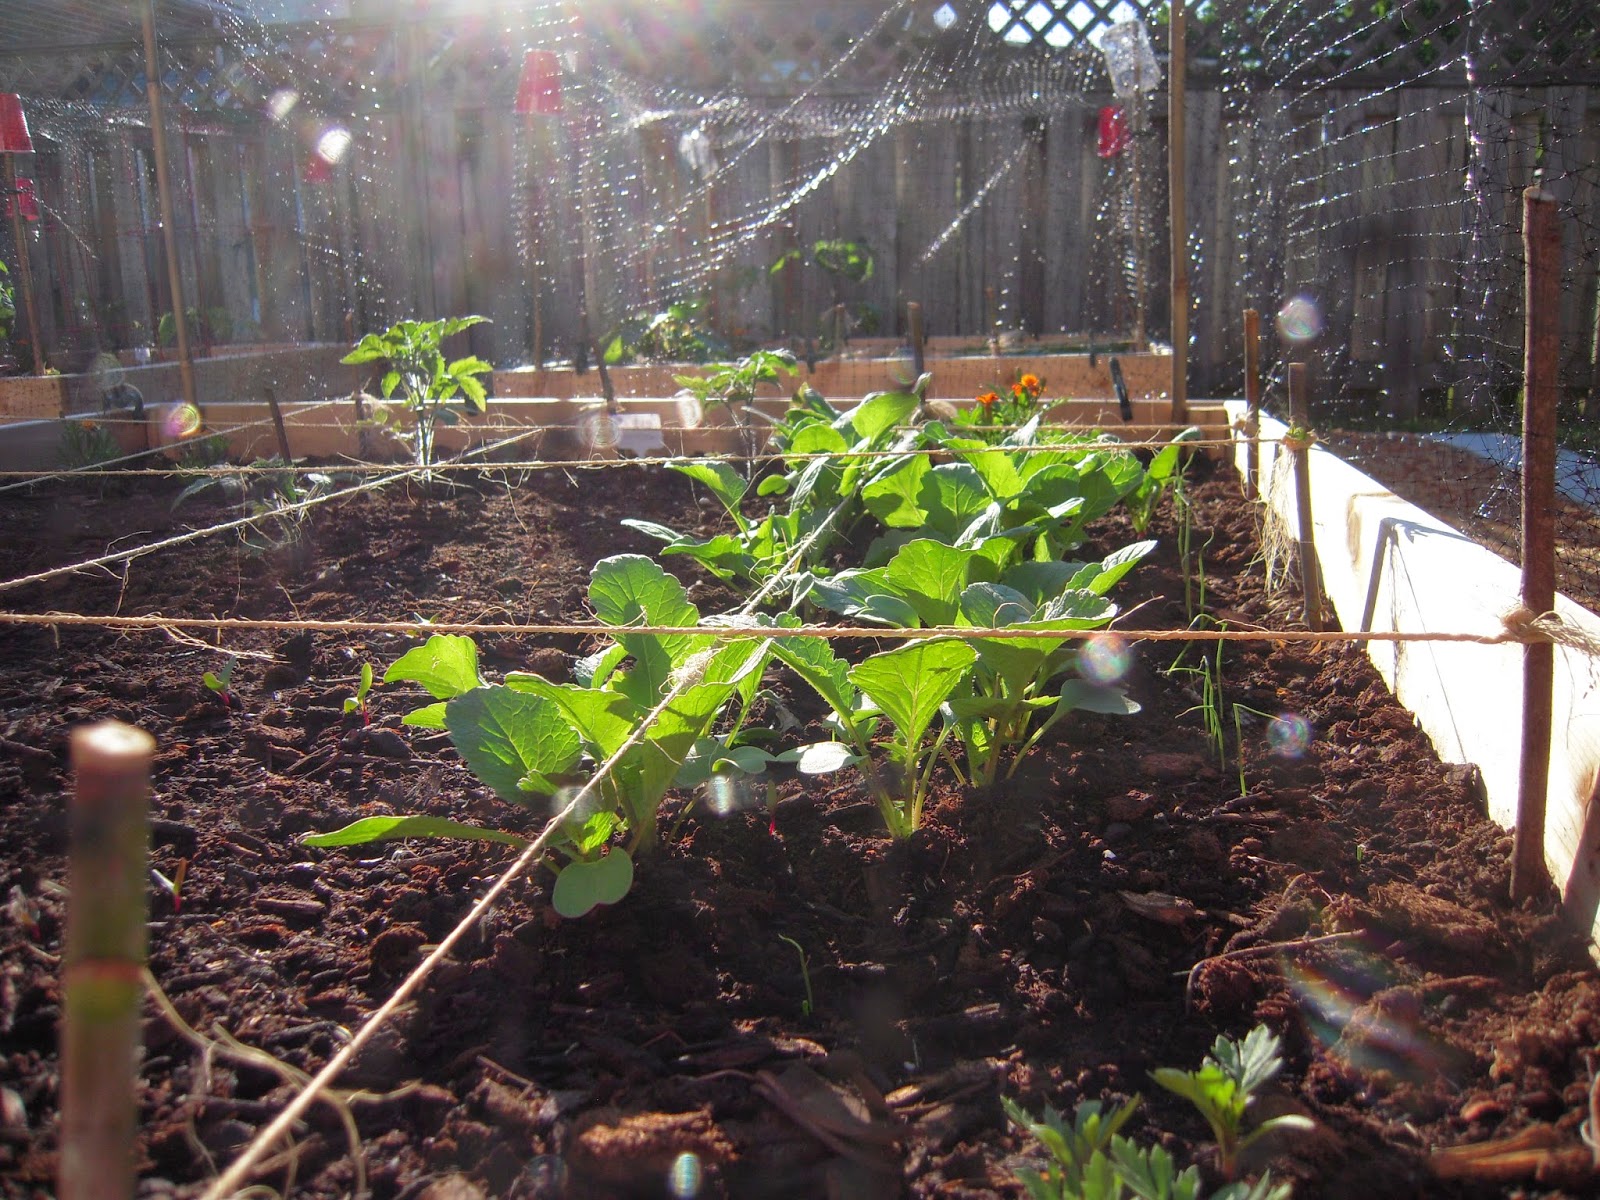


Slowly, I have been planting in all four beds a mix of plants I started from seed as well as direct sowing many vegetables. Unfortunately I quickly realized I had a battle on my hands: the animals - chipmunks and squirrels to be specific. Birds so far have not been a problem, beyond cheeky starlings stealing the cedar mulch to make nests. Squirrels keep running through the beds and chipmunks have not stopped digging up everything I've planted! Every morning I would head outside to check on the garden progress and every morning I found a different area destroyed - seeds tossed around, plants ripped apart. I had no choice but to net the four beds. Netting isn't the best looking, but if I want anything to grow this year it's my only option. I bought cheap bamboo poles and stuck one in each corner of the beds, topped the poles with a plastic cup and pulled animal netting over each bed. The cup is so the end of the bamboo pole does not go through the holes in the net. I have tucked all open ends into the mulch and used garden clips and leftover bricks to close off the bottom. What a pain! If I have to get into the beds its an ordeal but so far nothing has got in and the plants have had a few days of undisturbed growing time to get moving!
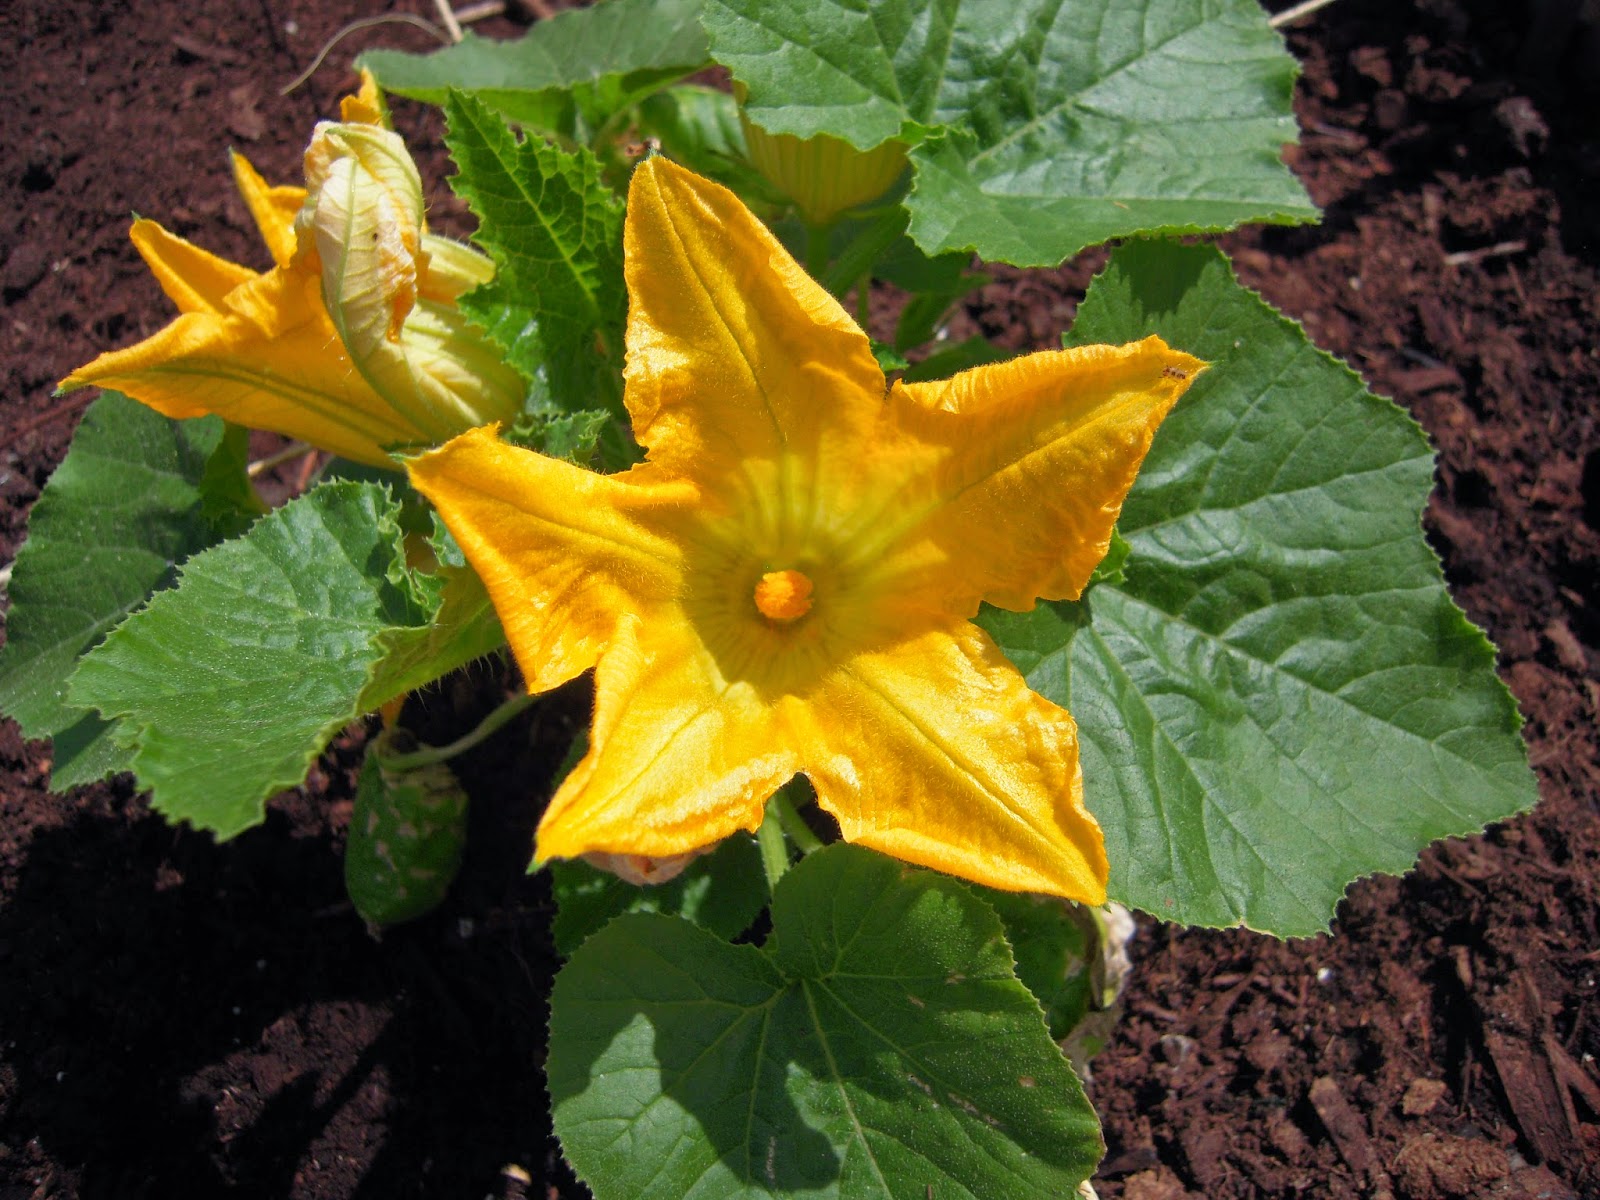
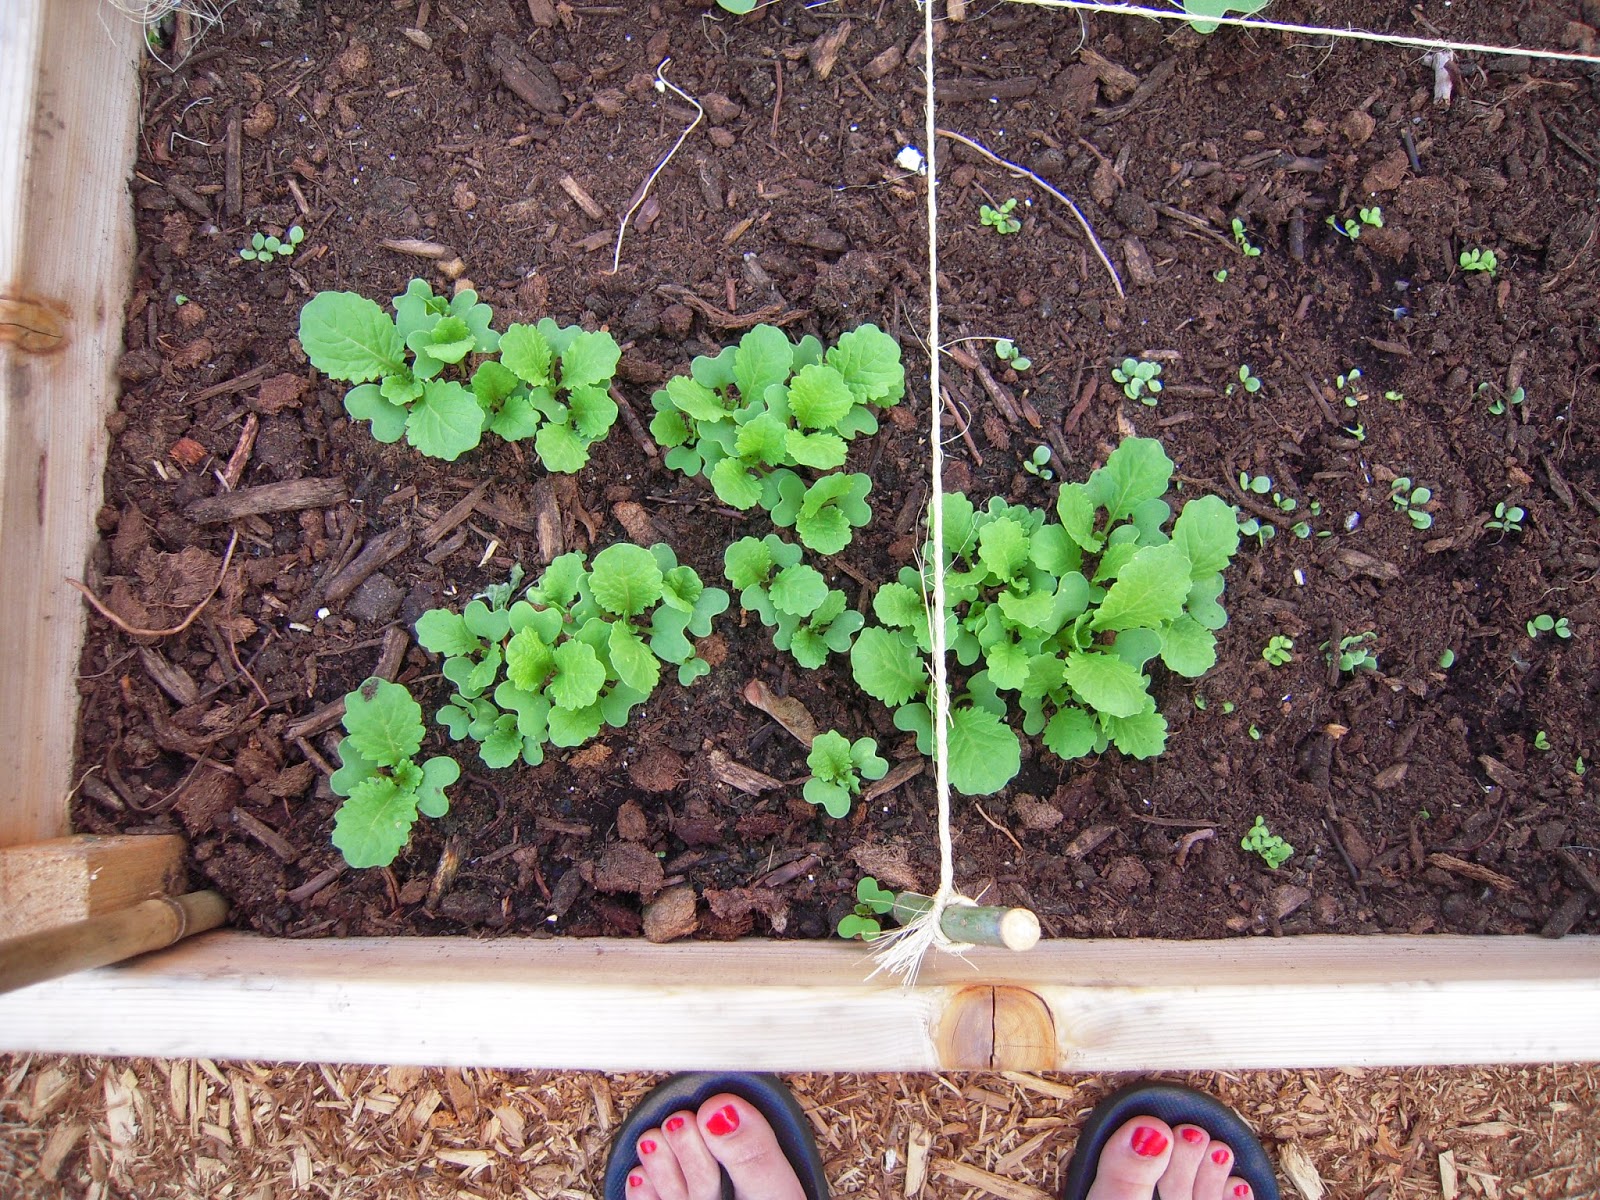
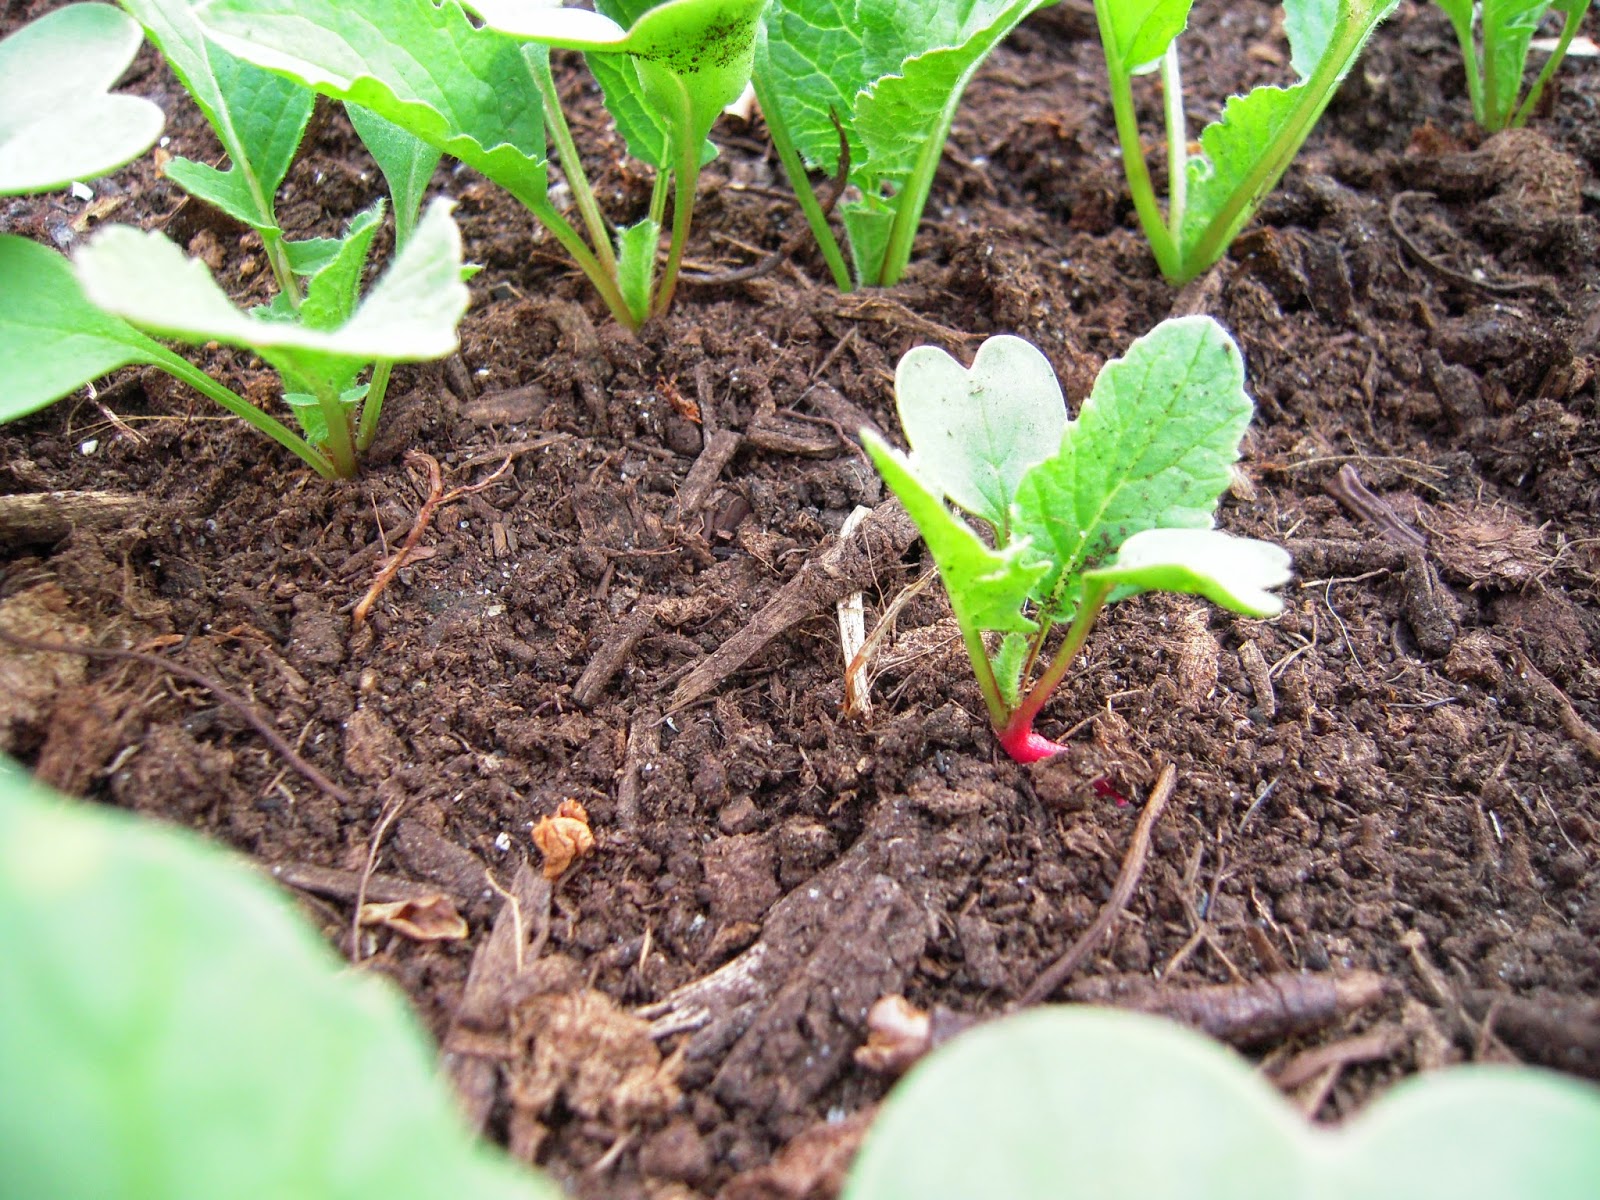
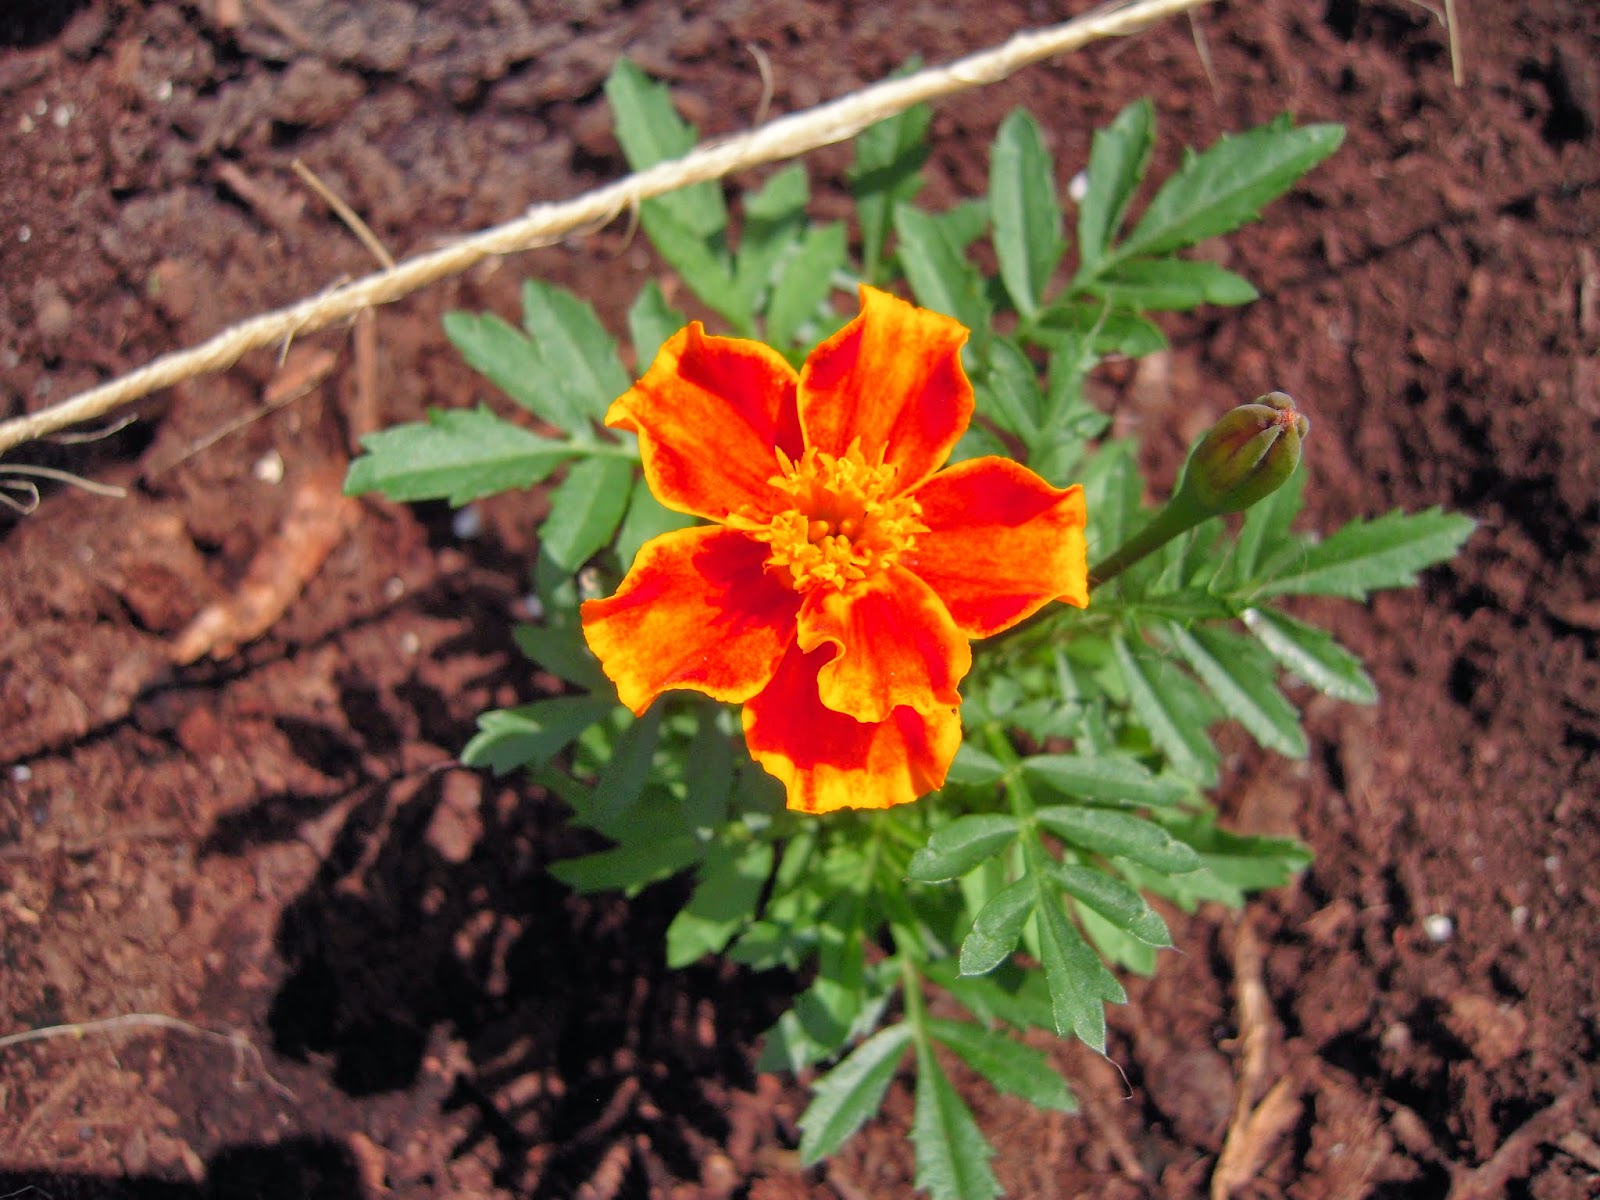
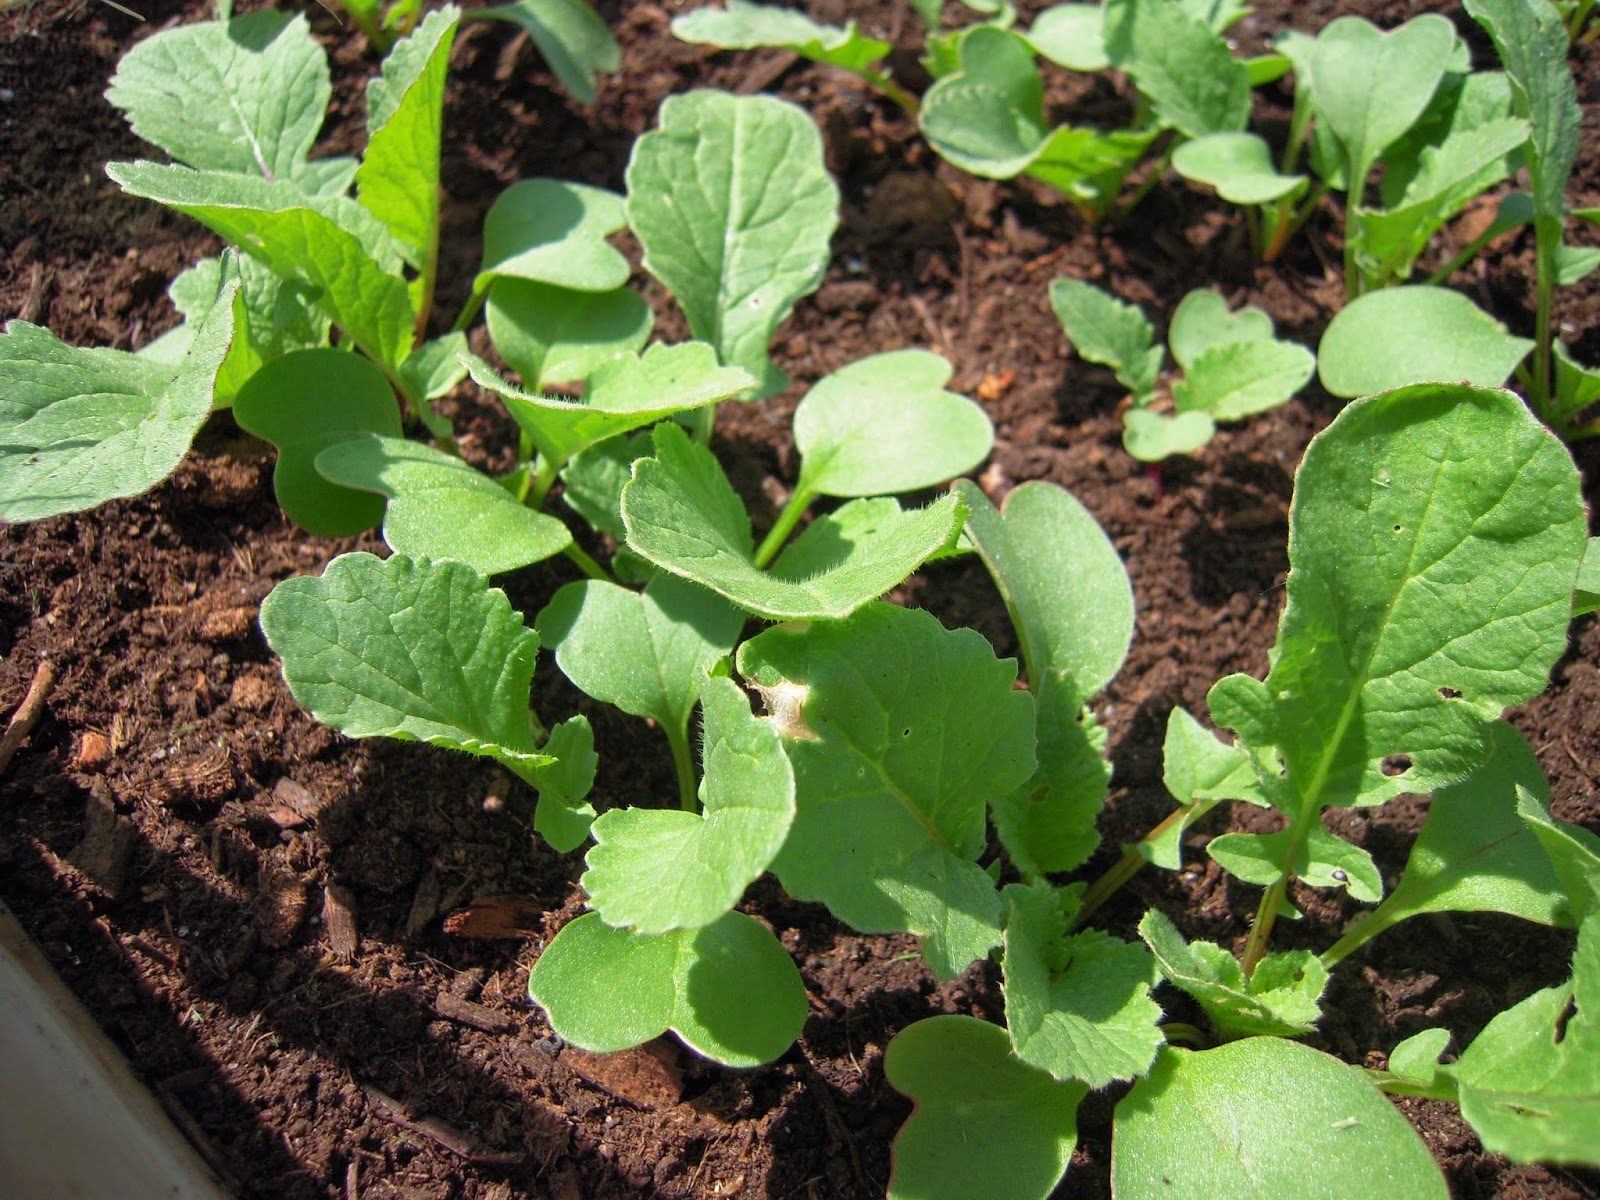

I started zucchinis, marigolds and tomatoes from seed. The two healthiest zucchini plants are now taking off in the beds with the early signs of an actual zucchini forming (yay!), the marigolds are doing well and the seeds I didn't have room to start indoors are now taking off outside. I was lucky to get more than enough viable tomato seedlings, there are about 3 tomato plants in each bed. The varieties that I have are Beefsteak, Brandywine and Old German along with some Tiny Tom cherry tomatoes that were started from some seeds that were about 3 years old (what luck!). I also planted radish and lettuce seeds, also 3 years old and everything has taken off! I can't believe how fast the radishes are growing and how strong they look! The other new seeds that have been started straight outdoors are spring onions, parsnips, turnips, some FREE carrot seeds, rhubarb Swiss chard, beets, red Russian kale and dwarf curled kale. So far the onions are popping up pretty fast, the beets are also showing themselves (but most of those beet seeds had been tossed around by chipmunks, so they aren't growing in the neat rows I planted them in). The kale and chard is starting to sprout and looks much better than the specimens I tried starting indoors. All in all I am pleased with how things are growing at the moment - it was difficult to predict what success - if any, I would have this year. As long as I work to keep the animals out I think I should come away with a few good bites of veg!

Tuesday, 20 May 2014

Garden: Week of May 18th

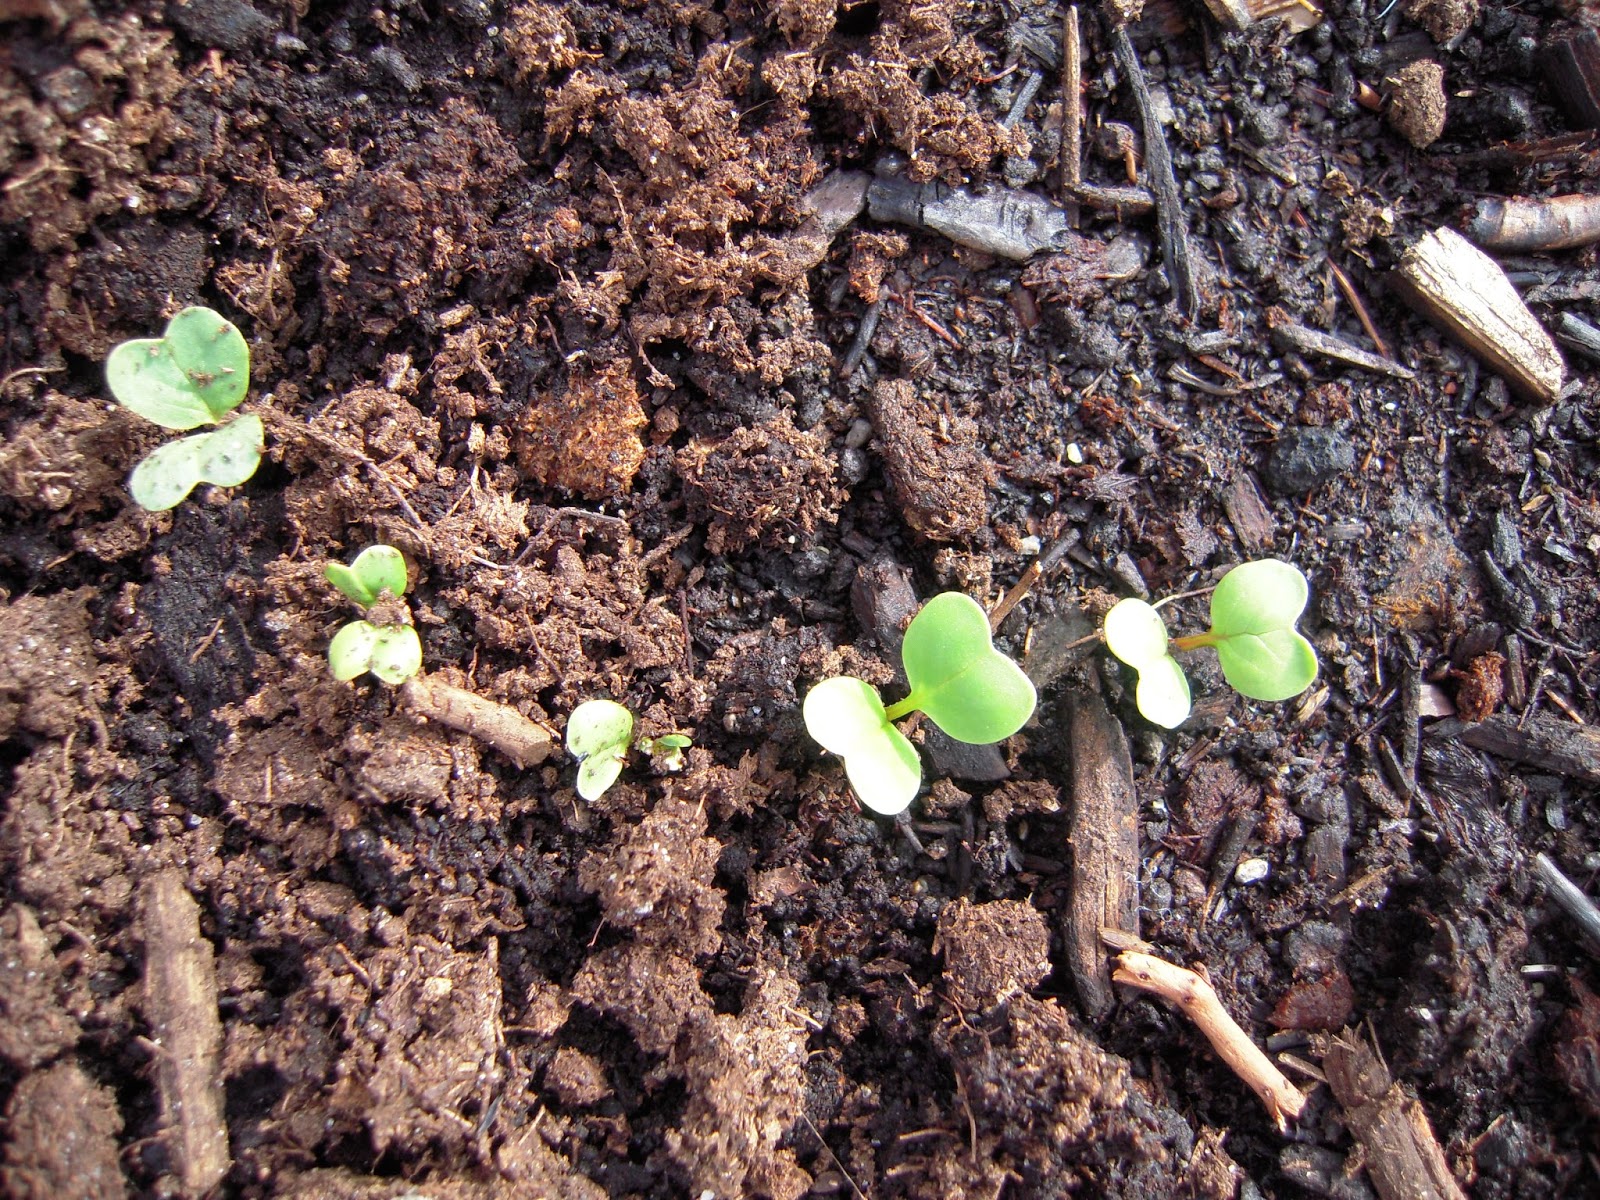
Below are a few photos of the garden taken over this past holiday weekend (Victoria Day in Canada - the official start to the summer woo-hoo!!!). There isn't much growing in the vegetable garden yet - some radishes are doing really well, but they are about the only thing the pesky squirrels have not dug up. I am an animal lover, but right about now I have had it with the neighborhood squirrels! They are constantly digging through the raised veg beds - not eating anything, just digging compulsively (for gold?!). They have destroyed my strawberries in hanging baskets, dug up my zucchinis and have even tipped over my pots of marigolds (yet to be planted). However, I am pleased to see some flowers coming to life in the garden...and with flowers comes bees, of the honey and bumble (my favorite) variety!


I am hopeful that these radishes will survive the gang of neighborhood squirrels that seemed determined to destroy my garden!

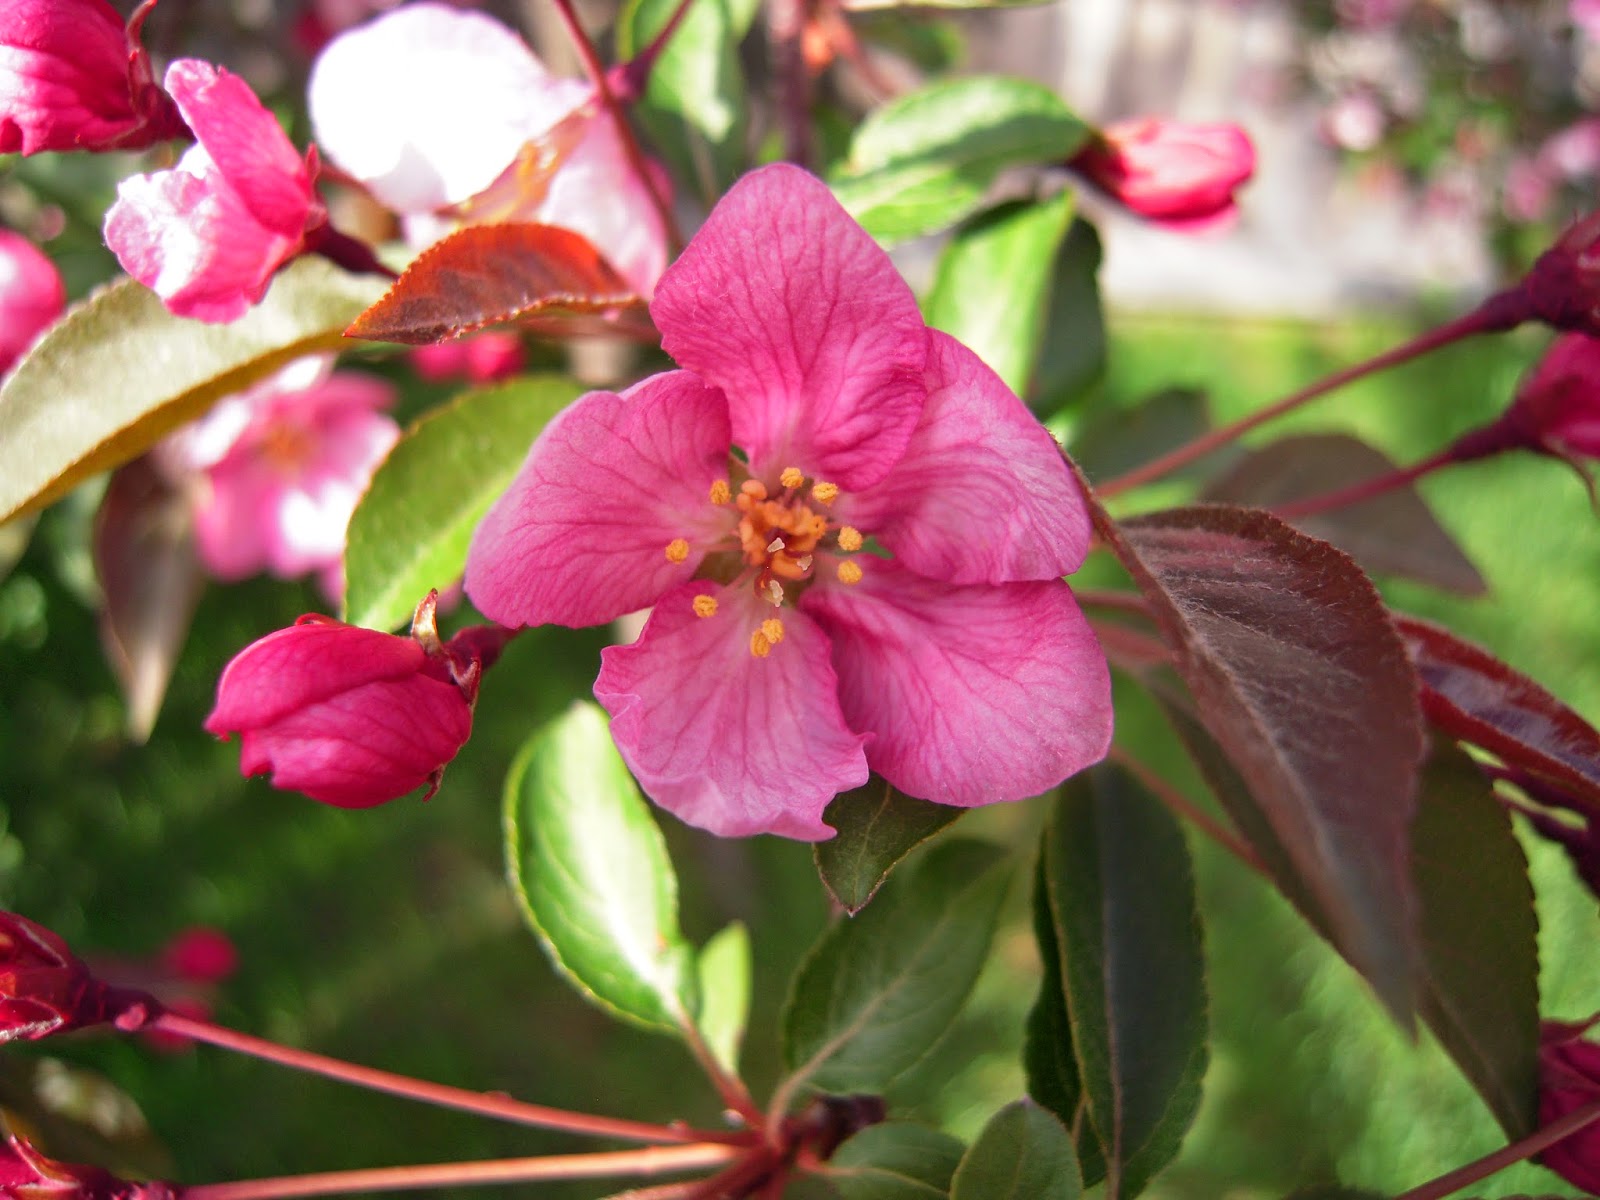
Pink crab apple blossoms.

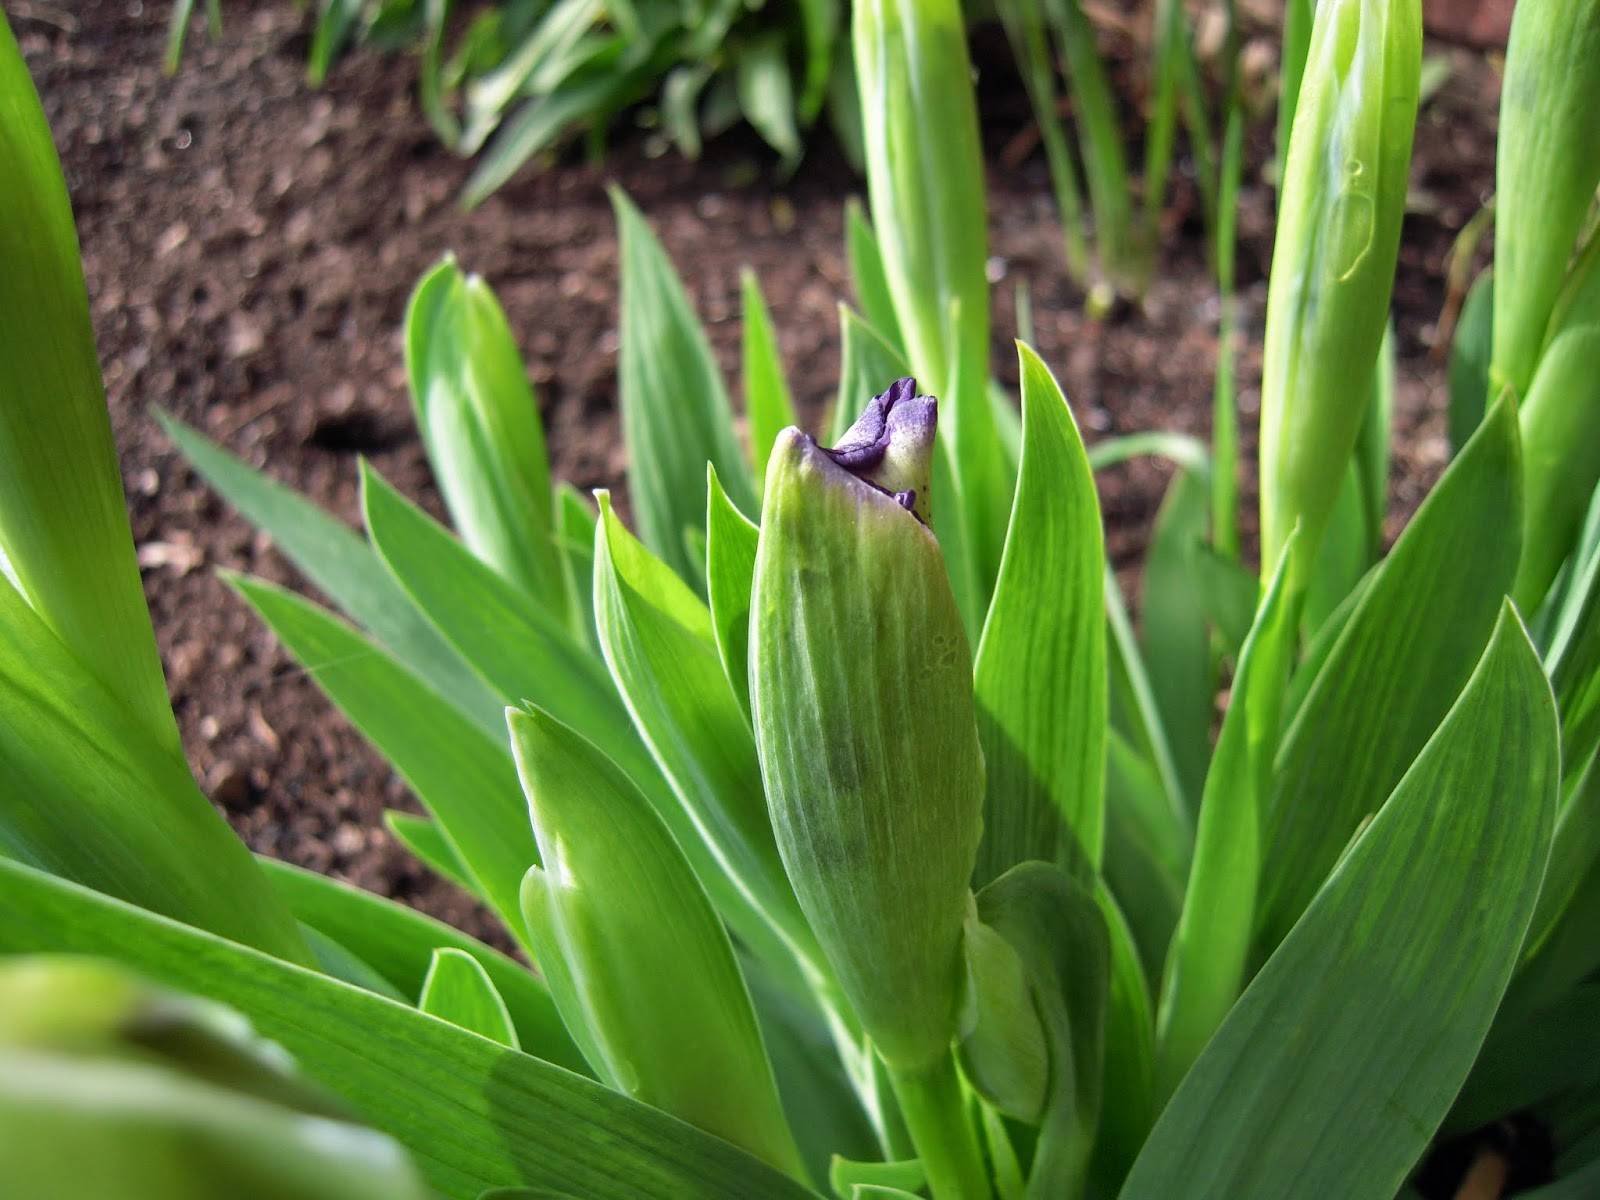
Sunday May 18th, a hint of the flower to come...

...only two days later and look what we have!

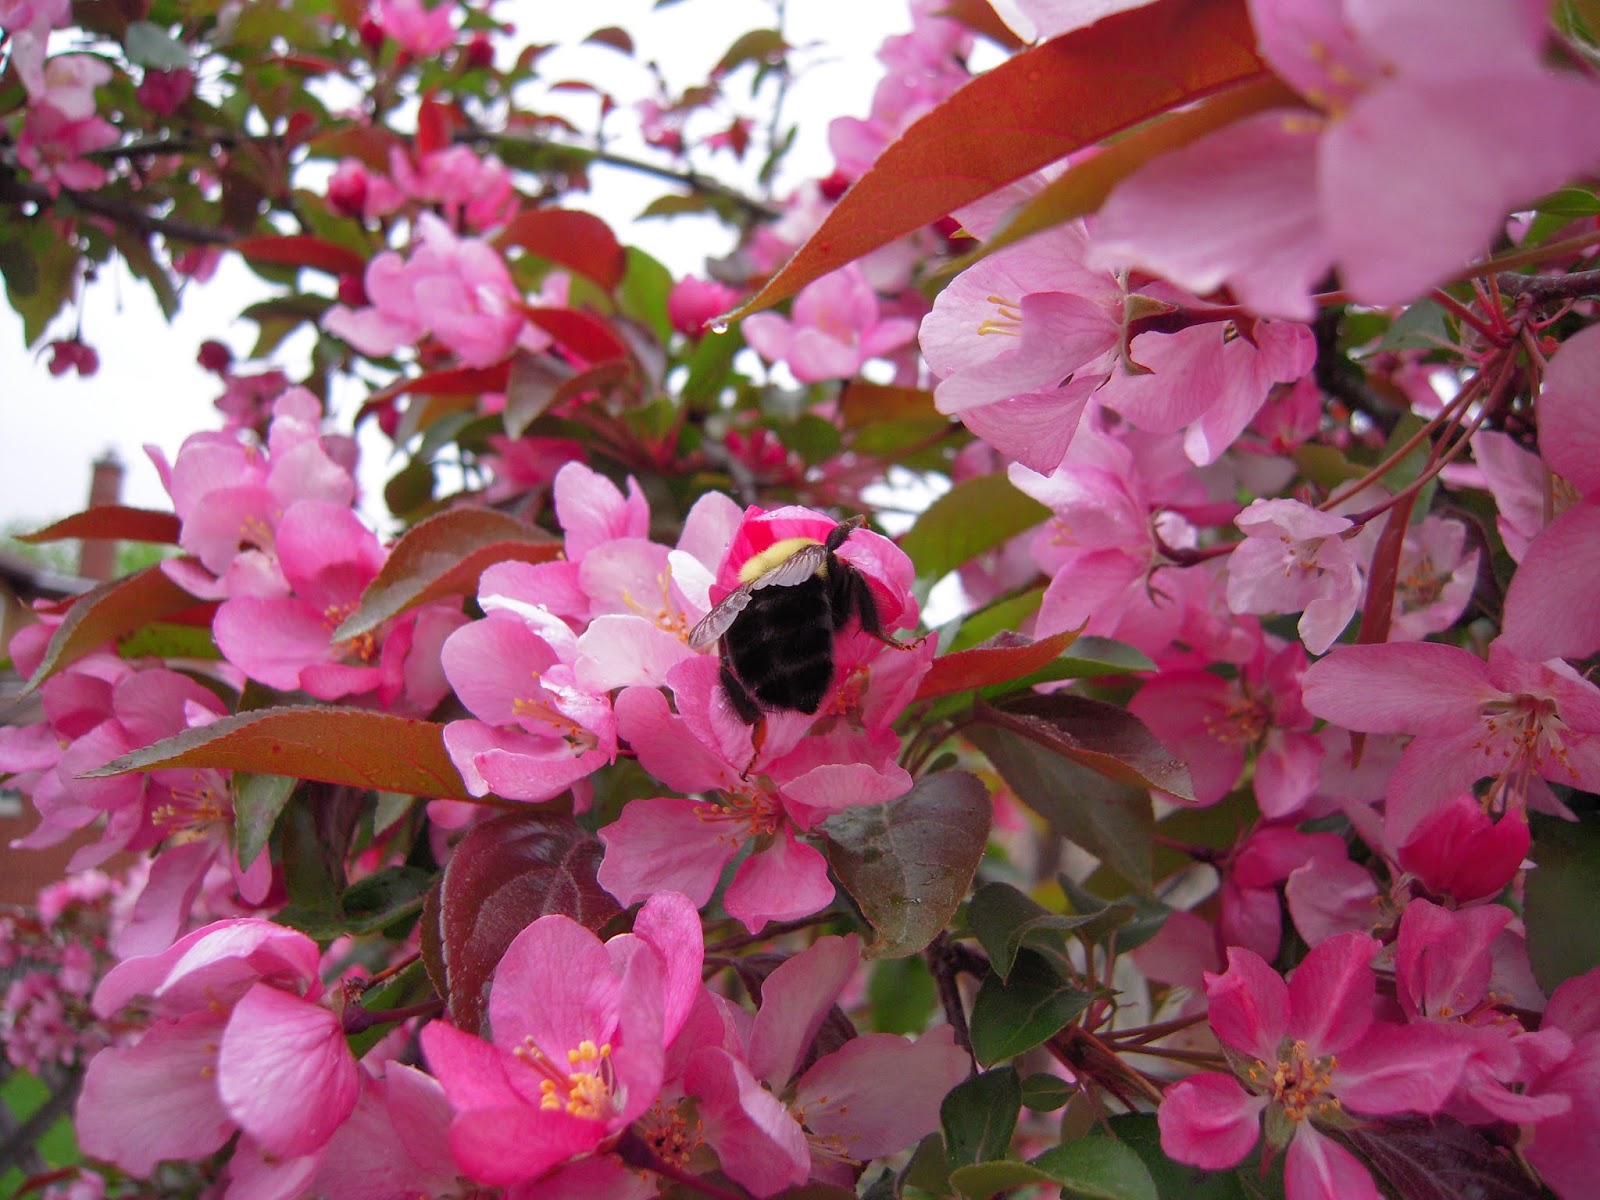
A bumble bee visiting the crab apple just as it starts to rain.

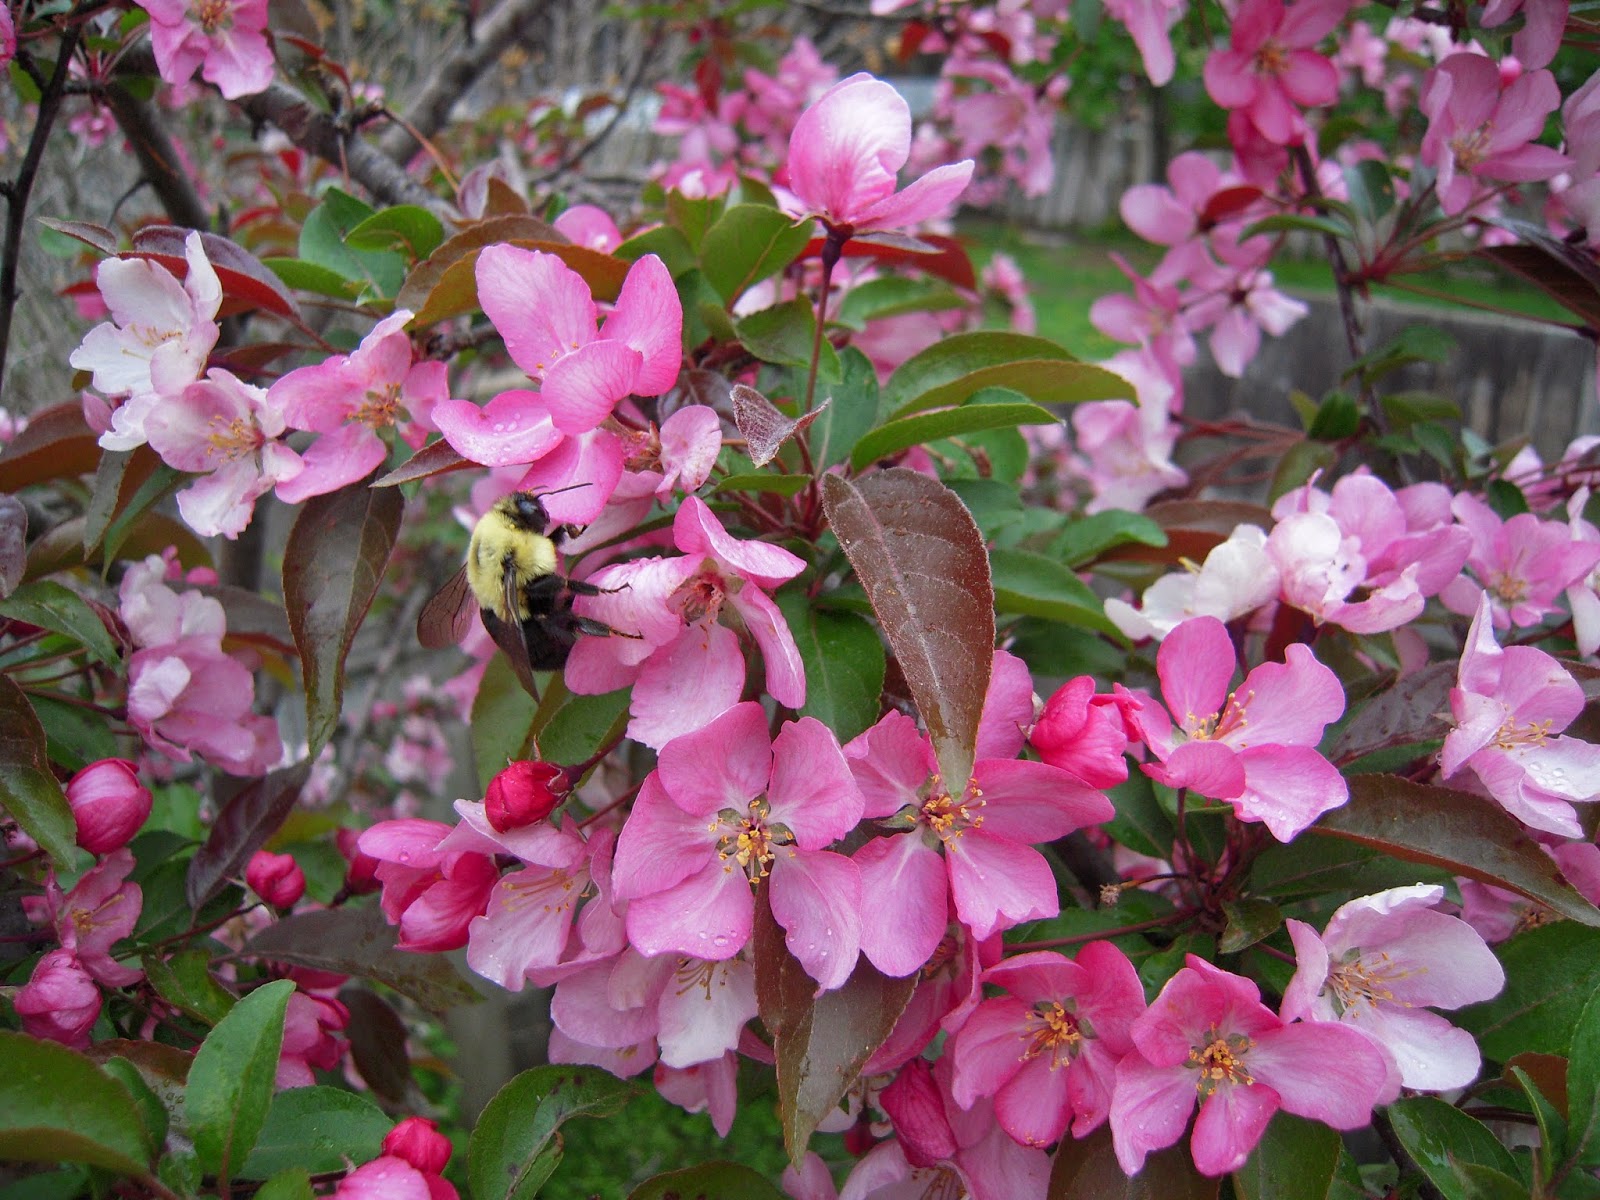
And of course, a shot of a bumble bum!


Thursday, 8 May 2014

Early May: photos of the garden

Life is creeping back into the garden. I am shocked at how well the rock garden has come to life. I truly thought most of the plants would have taken such a hit from the winter (and the roofers that stomped all over them) that they would either fail to survive or struggle at best. But boy was I wrong! So far most of the plants in the rock garden are looking as good as they did at their peak last year and they still have the summer to get growing through! The rocky little nook was brought back from the brink last year, so I didn't truly know what I was dealing with, what plants were in there and what their potential would be. Let's hope they keep going strong!


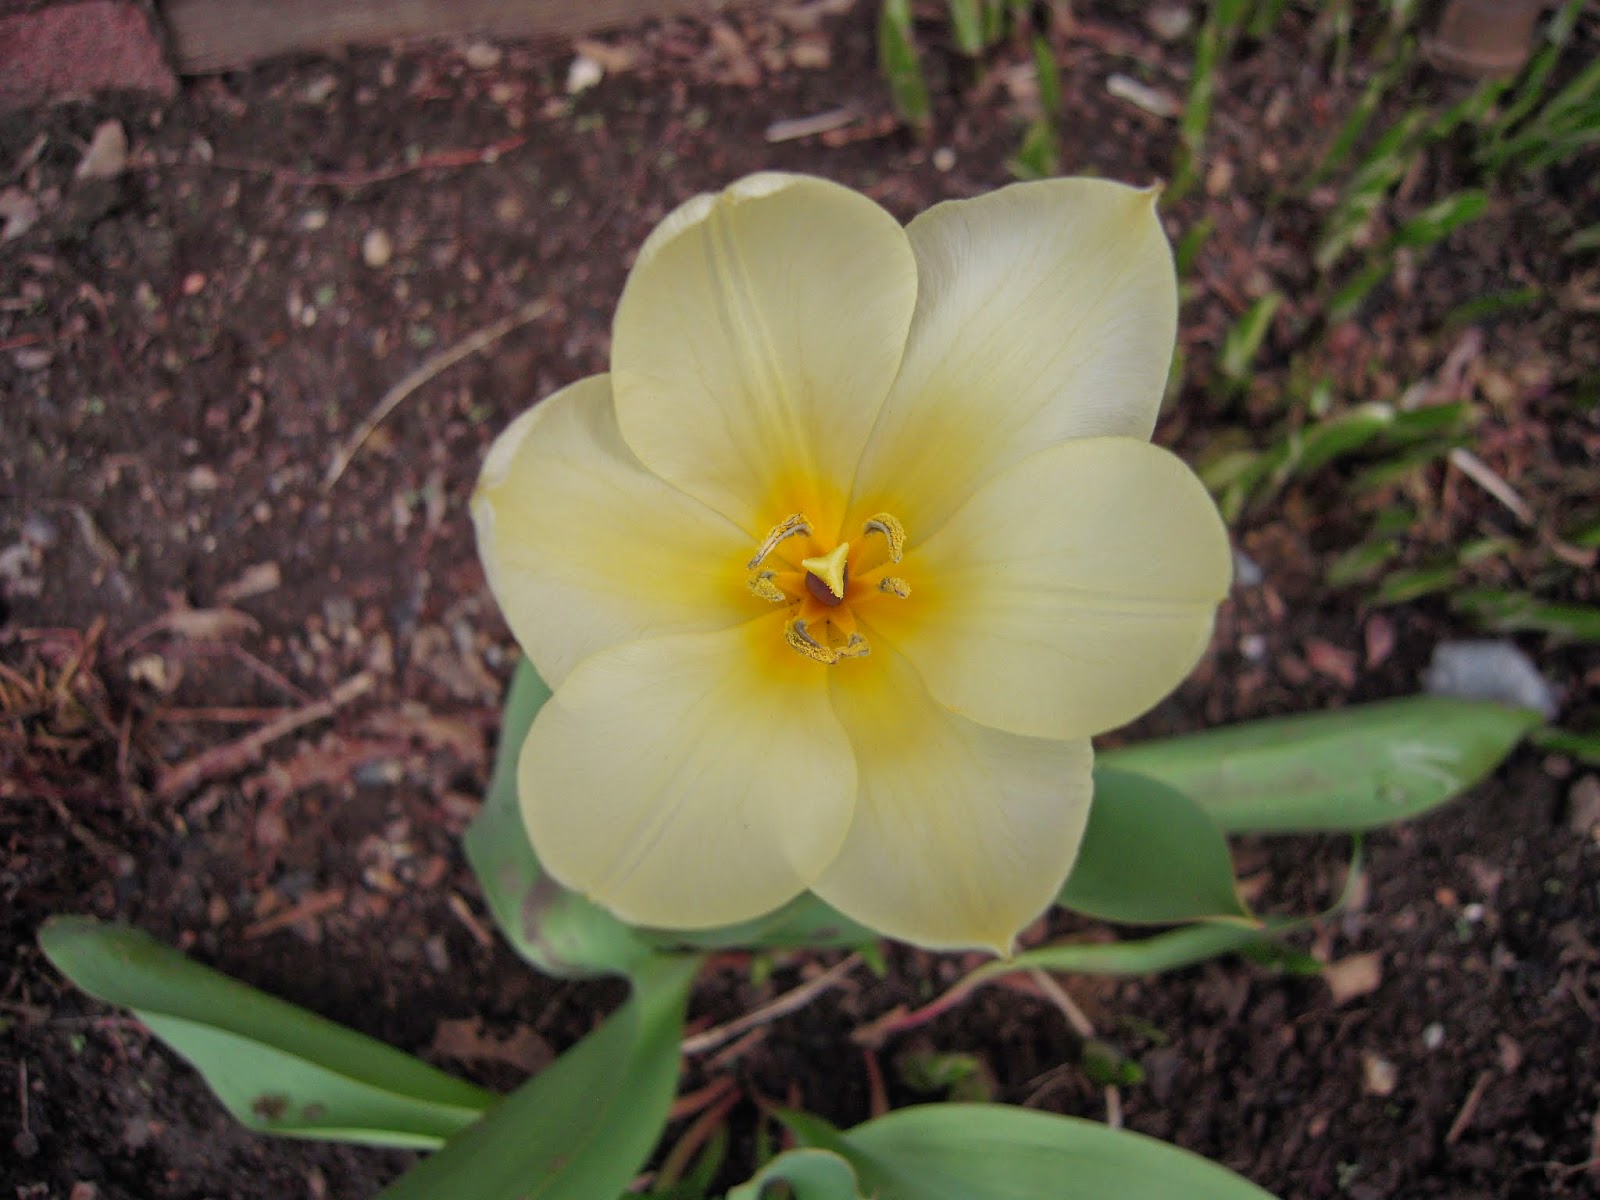
As was the case last year, here is the ONE and only tulip. Several other sets of leaves appeared through the garden that looked pretty tulip-ee, along with a few daffodil-esque leaves, but only this one sad flower emerged. It did appear to have a sister tulip that some creature decided to taste test - they did not approve of the taste but succeeded in killing the other flower shoot.


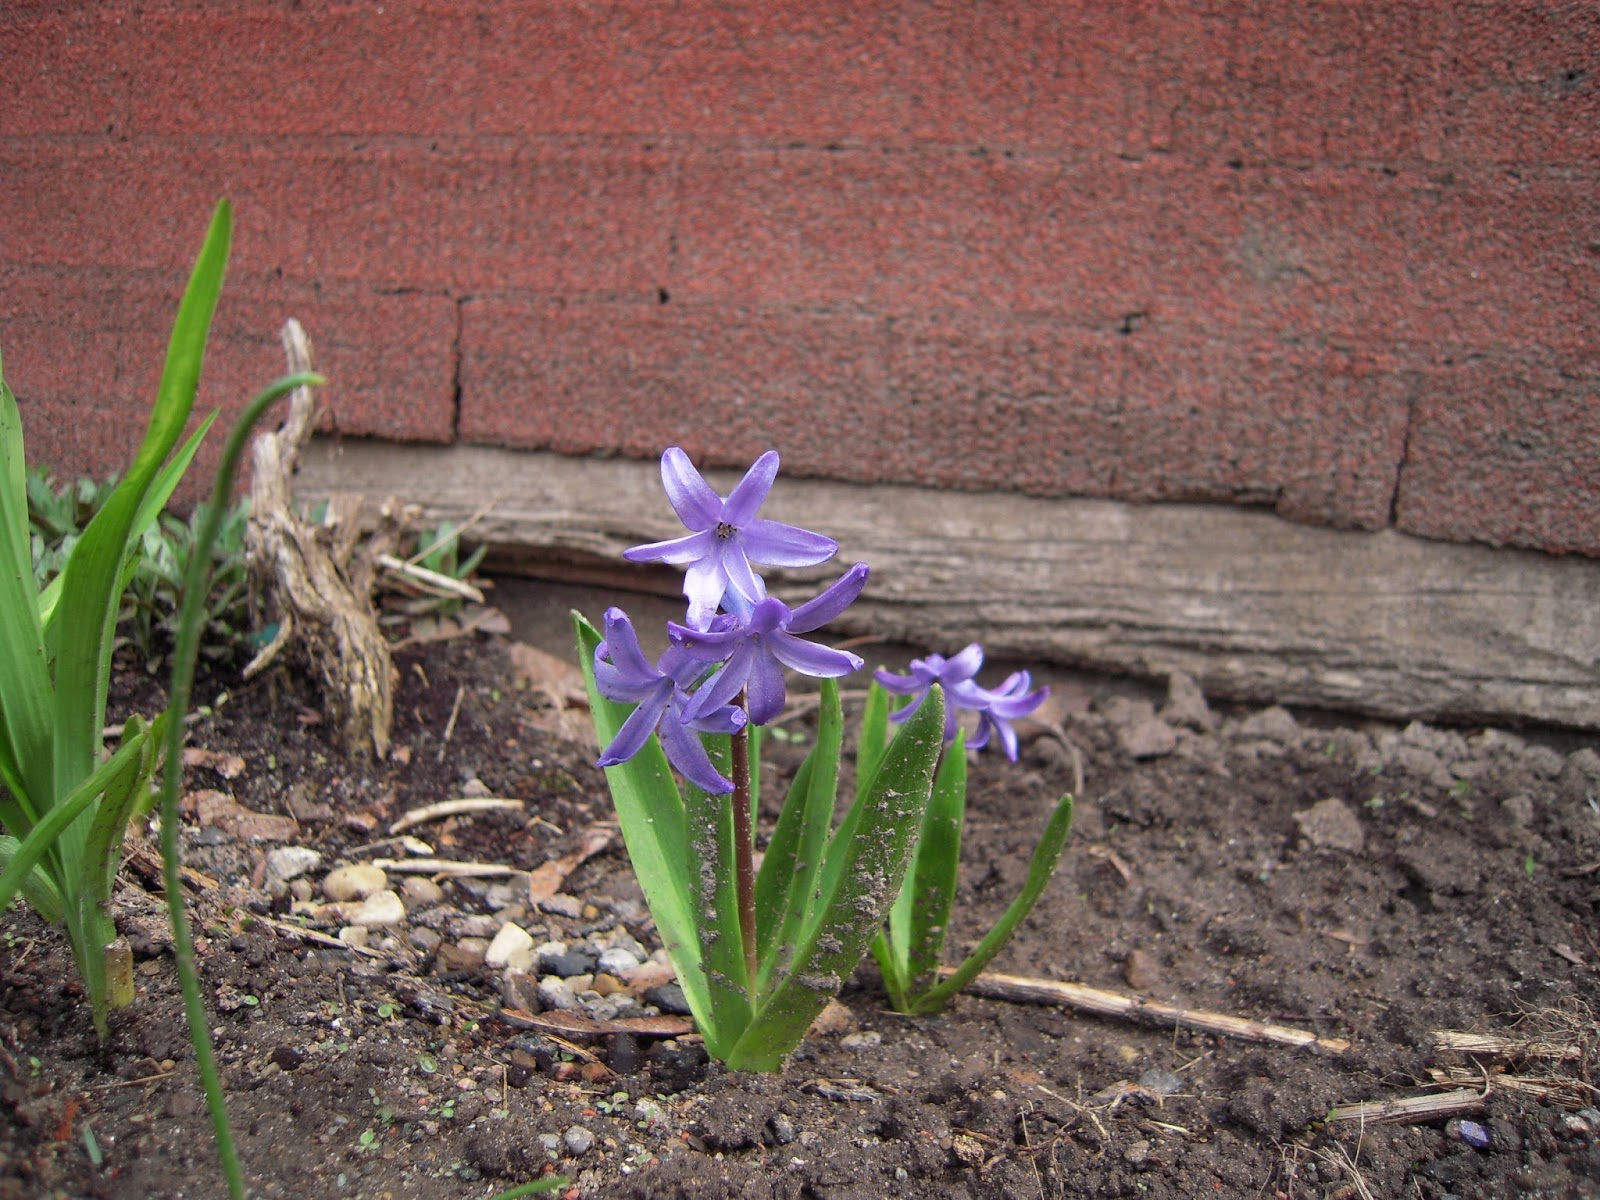
What are these little purple guys? There are only these two little plants but I wouldn't mind getting more. It is encouraging to see a splash of colour in the garden after such a depressing winter.


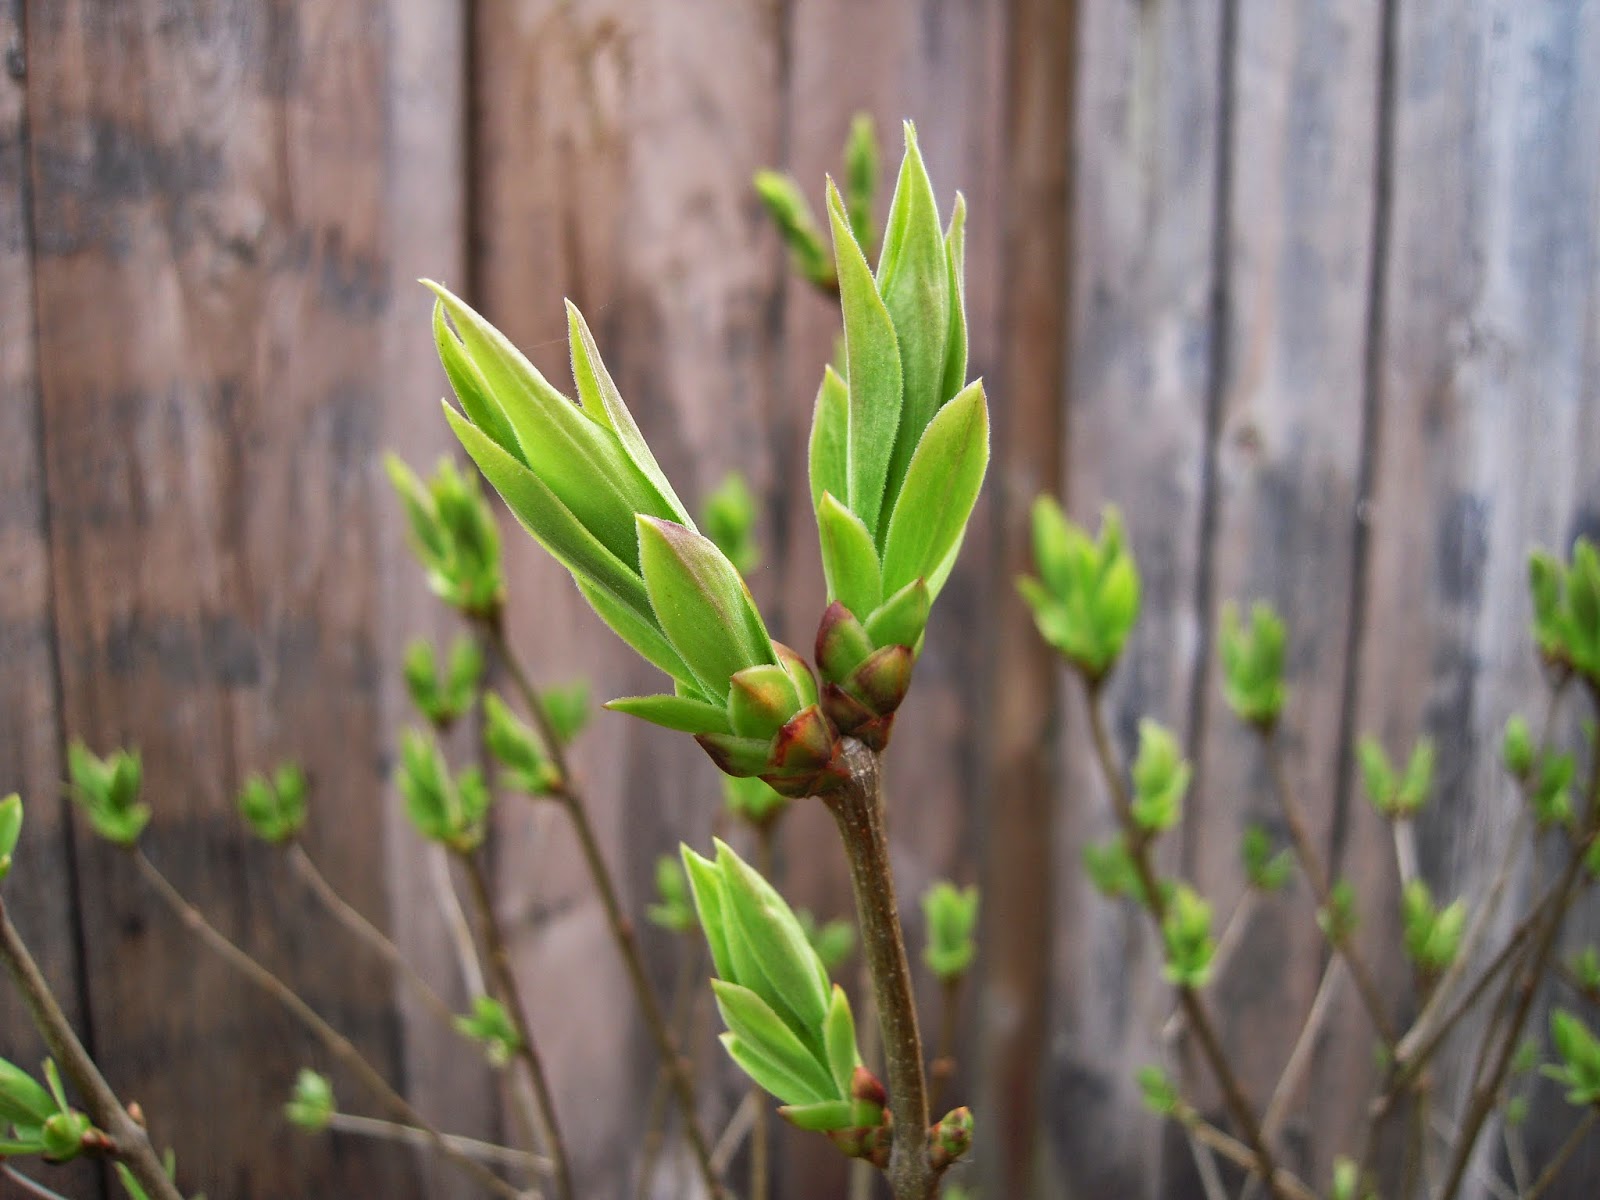
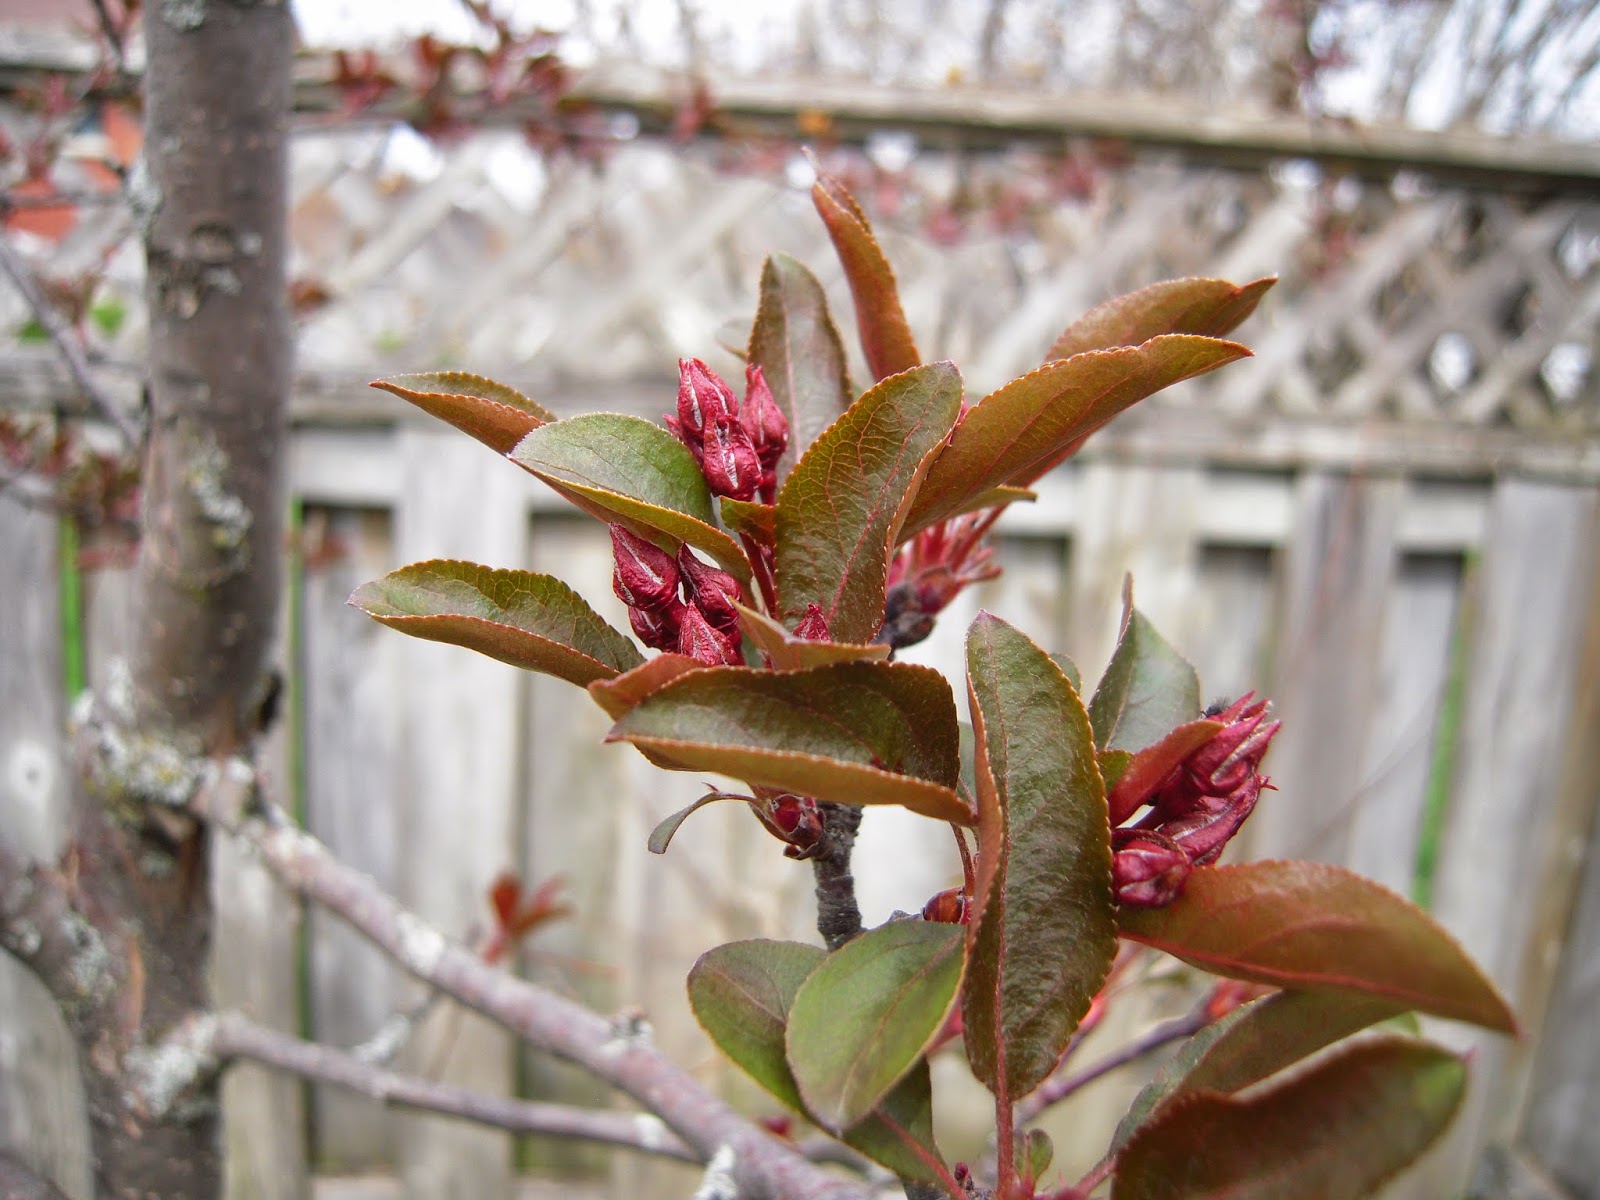
Finally some buds on the lilac and the pink crab apple. The lilac has yet to flower since we have lived here. It is a young looking bush, very healthy, but I don't know if or when it will start to flower. The crab apple will be getting its lovely pink flowers in a while and I can't wait!


Here is a shot of the raised beds and an overview of the yard. The beds are now filled with soil, a mix of peat moss and a variety of different composts. The tattered newspapers around them is what is left sticking out from under the beds - I mowed the grass down as low as I could, layered newspapers on the ground and covered with the soil mix. Hopefully (if all goes to plan) the grass underneath will be smothered and decompose into good stuff for the ground under the beds. And yes, the newspaper is a mess because I ran it over with the lawnmower - I get a little over excited working on the garden and rather than clear away the excess newspaper and then mow, I went straight for the mowing and now there are bits of paper all over the yard...my bad.


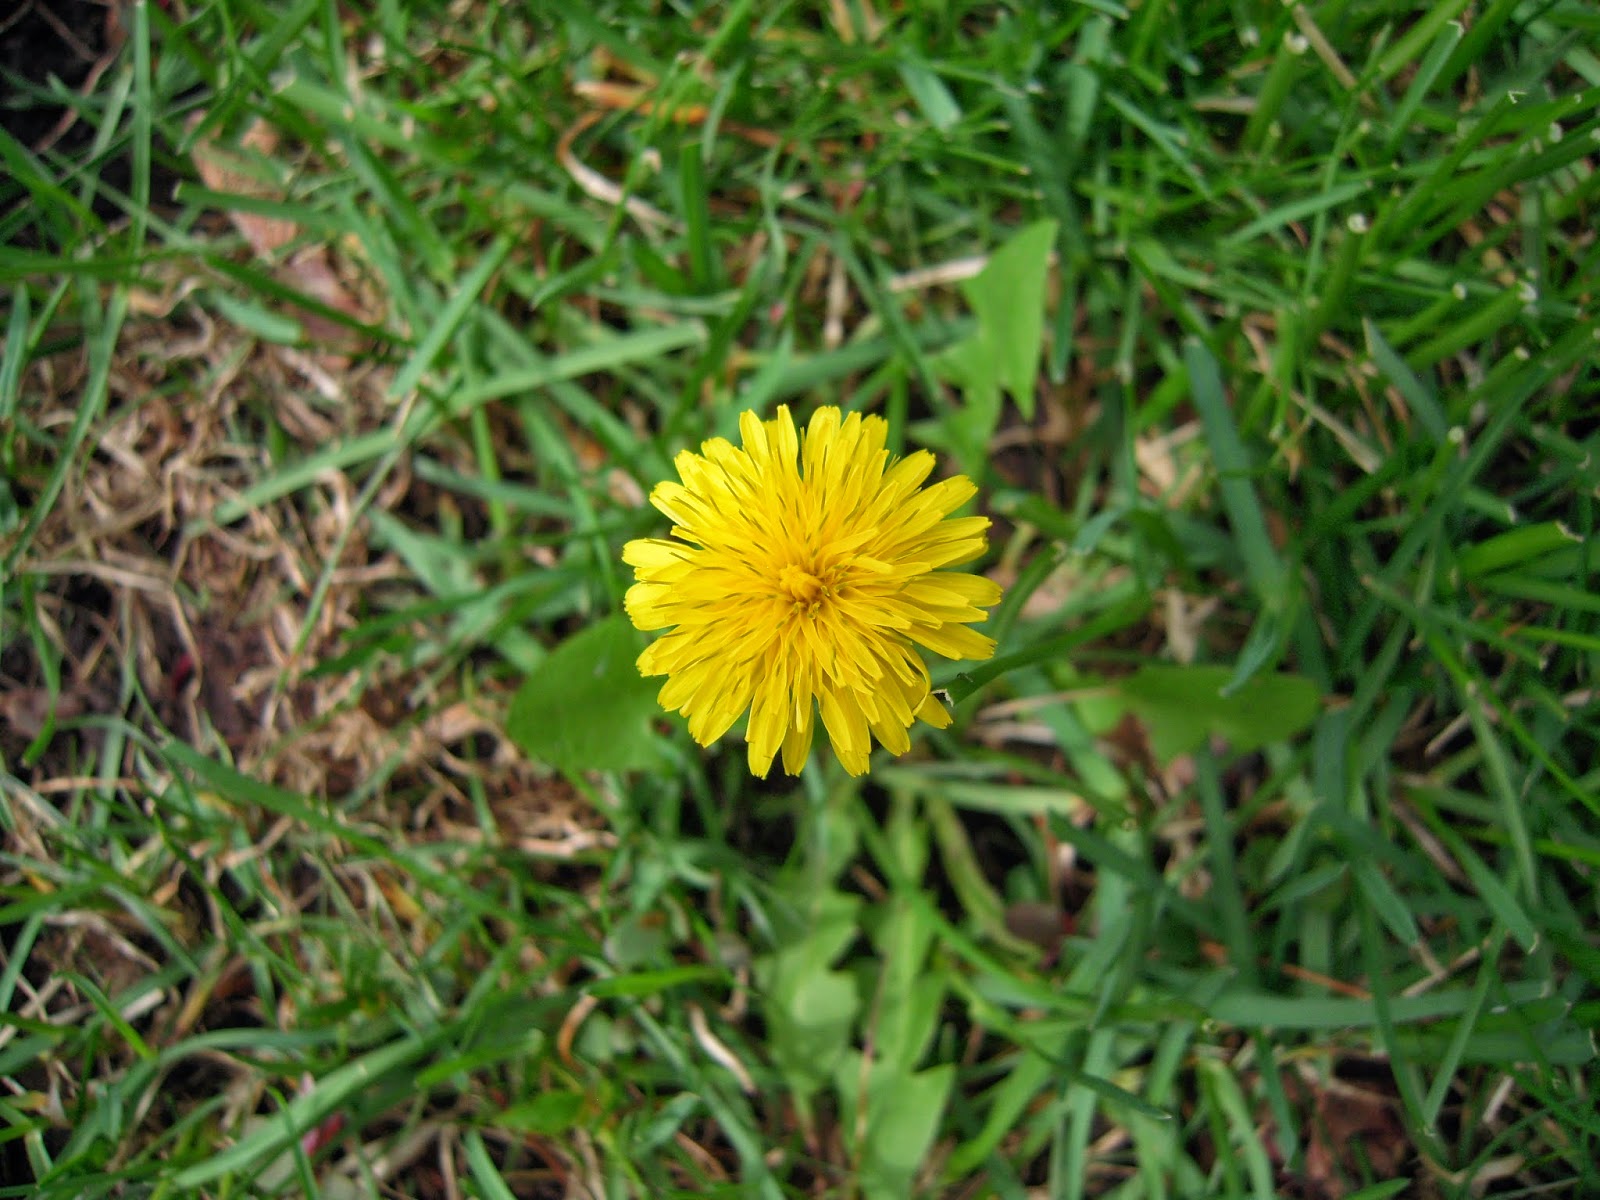
And who could miss the first dandelion of the year! 

Monday, 28 April 2014

Vegetable garden: two beds becomes four

Saturday was basically a crappy and way-to-chilly day to do anything in the garden. But thankfully yesterday (Sunday) took a slightly warmer and sunnier turn. This allowed myself and the man to get outside and build the remaining two raised beds...and since we had the experience of building two last weekend, we were pros and got the remaining two done in record time!


Now to smother the crap out of the grass with newspapers and cardboard (free when you get family to save newspapers and scavenge grocery stores for cardboard), fill the beds with soil and fill the surrounding area with mulch (which was purchased yesterday...seriously, we accomplished a lot for a Sunday!). In total the cost of the wood and screws set us back approximately $200. In my opinion, deck screws are overpriced and we didn't really shop around for lumber, realizing the cost difference between most of our local shops would have equaled the cost of the gas to drive back and fourth between said stores. We did however neglect to price check some lumber retailers on the other side of town...too late now, I shall not think about it again. The cost of mulch was about $32 for 11 bags (56L of cedar mulch per bag) and I had a gift card that took care of about half the cost. Next weekend we will be soil/compost shopping, will let you know what that sets us back, but with hope NEXT year I will be able to supply a decent amount of my own compost from the yet-to-be-built backyard compost bin!

Friday, 25 April 2014

Too many projects!

I can never have just one project on the go because that would be too easy! Most of the time when I take on one teeny tiny project, it spirals into a much bigger one, and often times that little project triggers many many more. For example, the guest bedroom closet-turned-office.

So far I have accomplished quite a bit of said project, there are still some built in shelves that need to get into the closet/office, but they can wait. I truly can't finish the room entirely until I get rid of the big dresser taking up way too much space, but how can I get rid of the dresser when it is FULL of clothes? Believe me, I have been through the clothes again and again and again to see what can stay and what can go (donate), but I still have a packed dresser and no where to relocate all the things inside. So here comes the chest-o-drawers project. I bought a tiny chest of drawers sometime last year at a thrift shop, with the goal of refinishing them and putting them in the master bedroom as extra storage (there is almost no space left in the master bedroom, but these drawers are small enough that I can get away with them jammed in a corner!). Well after spending all that time stuck in the basement gathering dust, now is the time to get those drawers done!


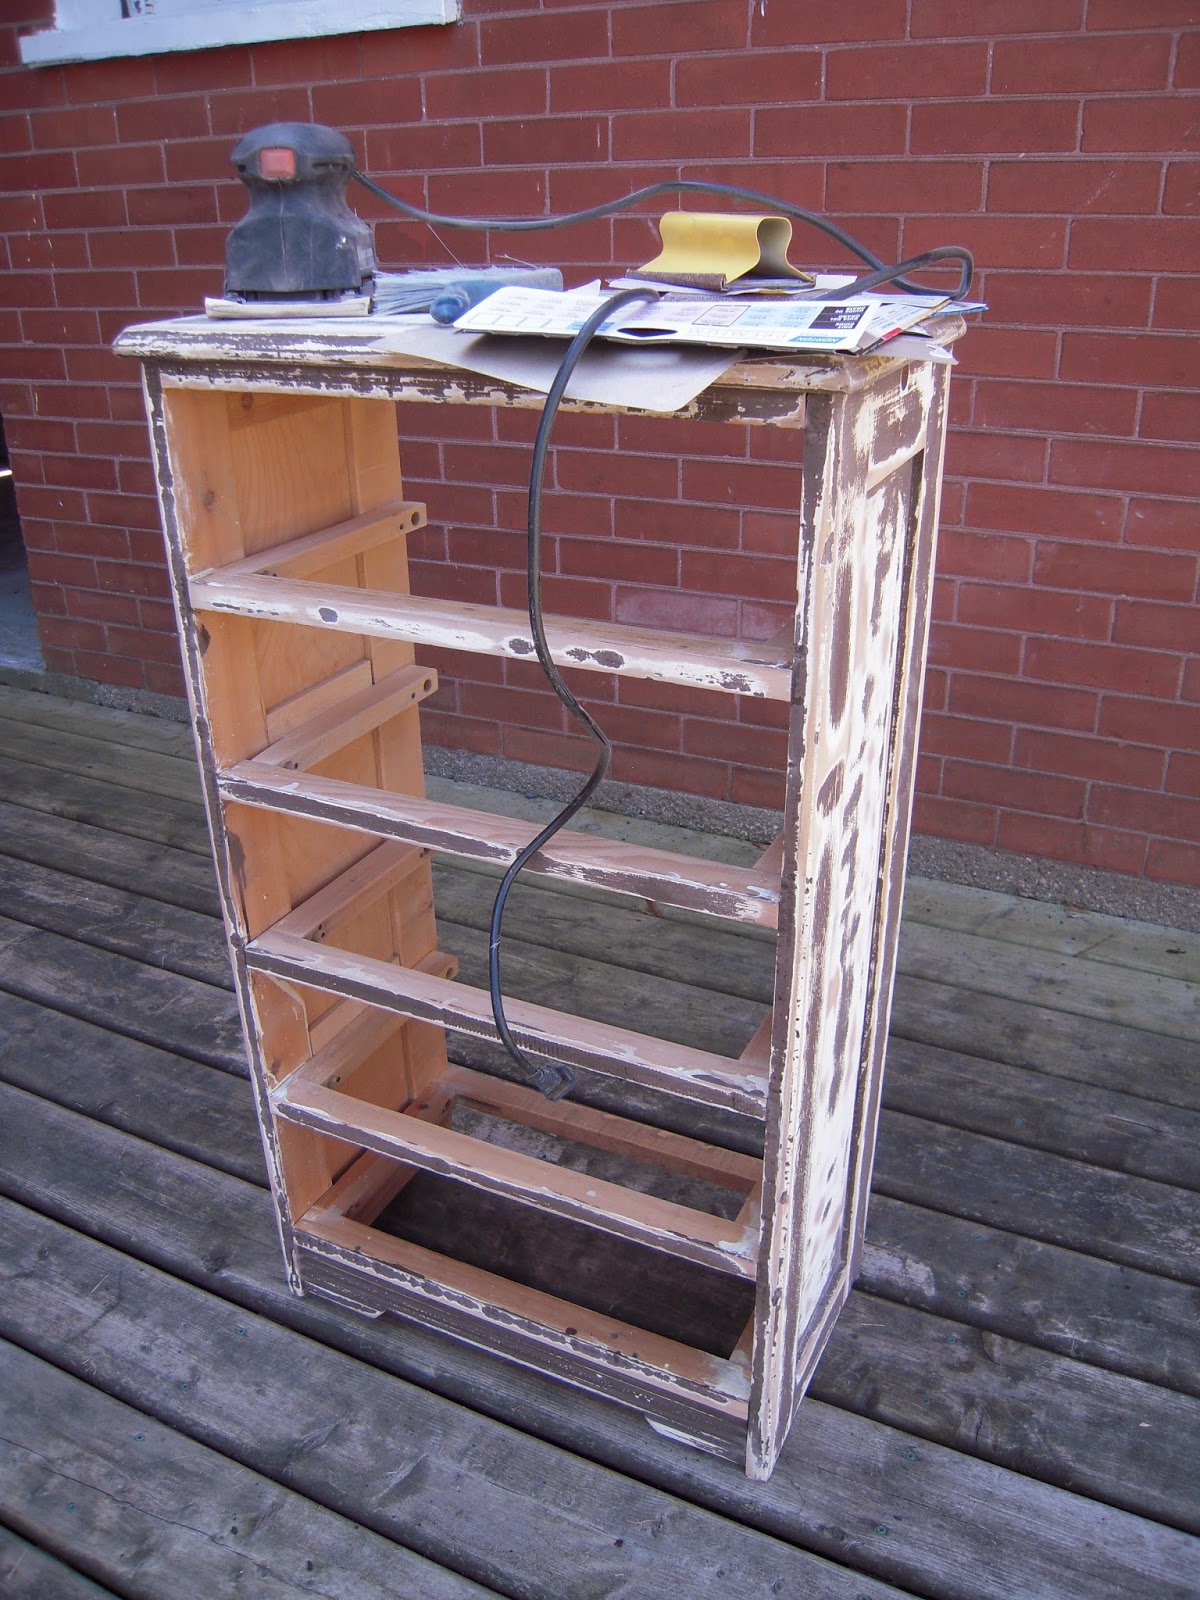
So much sanding. There was a super thick, dark glossy brown paint on the drawers when I started. I never imagined it would take so much work to sand that paint off!


This past week has been spent sanding, cleaning and priming...and I am still not done! I am going to keep at it and not give up, because a major part of getting the guest room done is relying on getting those drawers done...the existing dresser must go and my cedar chest must go to its new home in the corner of the room...where my computer is currently living. Why isn't the computer living on the new desk you ask? Because the cable internet connection is in the corner on the opposite side of the room and NO, I can't go wireless because as I found out, my OLD laptop's wireless connection doesn't seem to be working anymore. So throw another project onto the pile: buy a new laptop (it's about time anyway, the computer I am currently using is chugging along ready to kick the bucket any day now!). What else needs to get done? Oh, right, curtains and a curtain rod. To get those done I need to move the bed frame but where do you move a bed frame in a jam packed room?! It seems like it will never end...but when it does (which it has to one day, right?!) I will post photos.


Tuesday, 22 April 2014

Getting a start on the vegetable garden

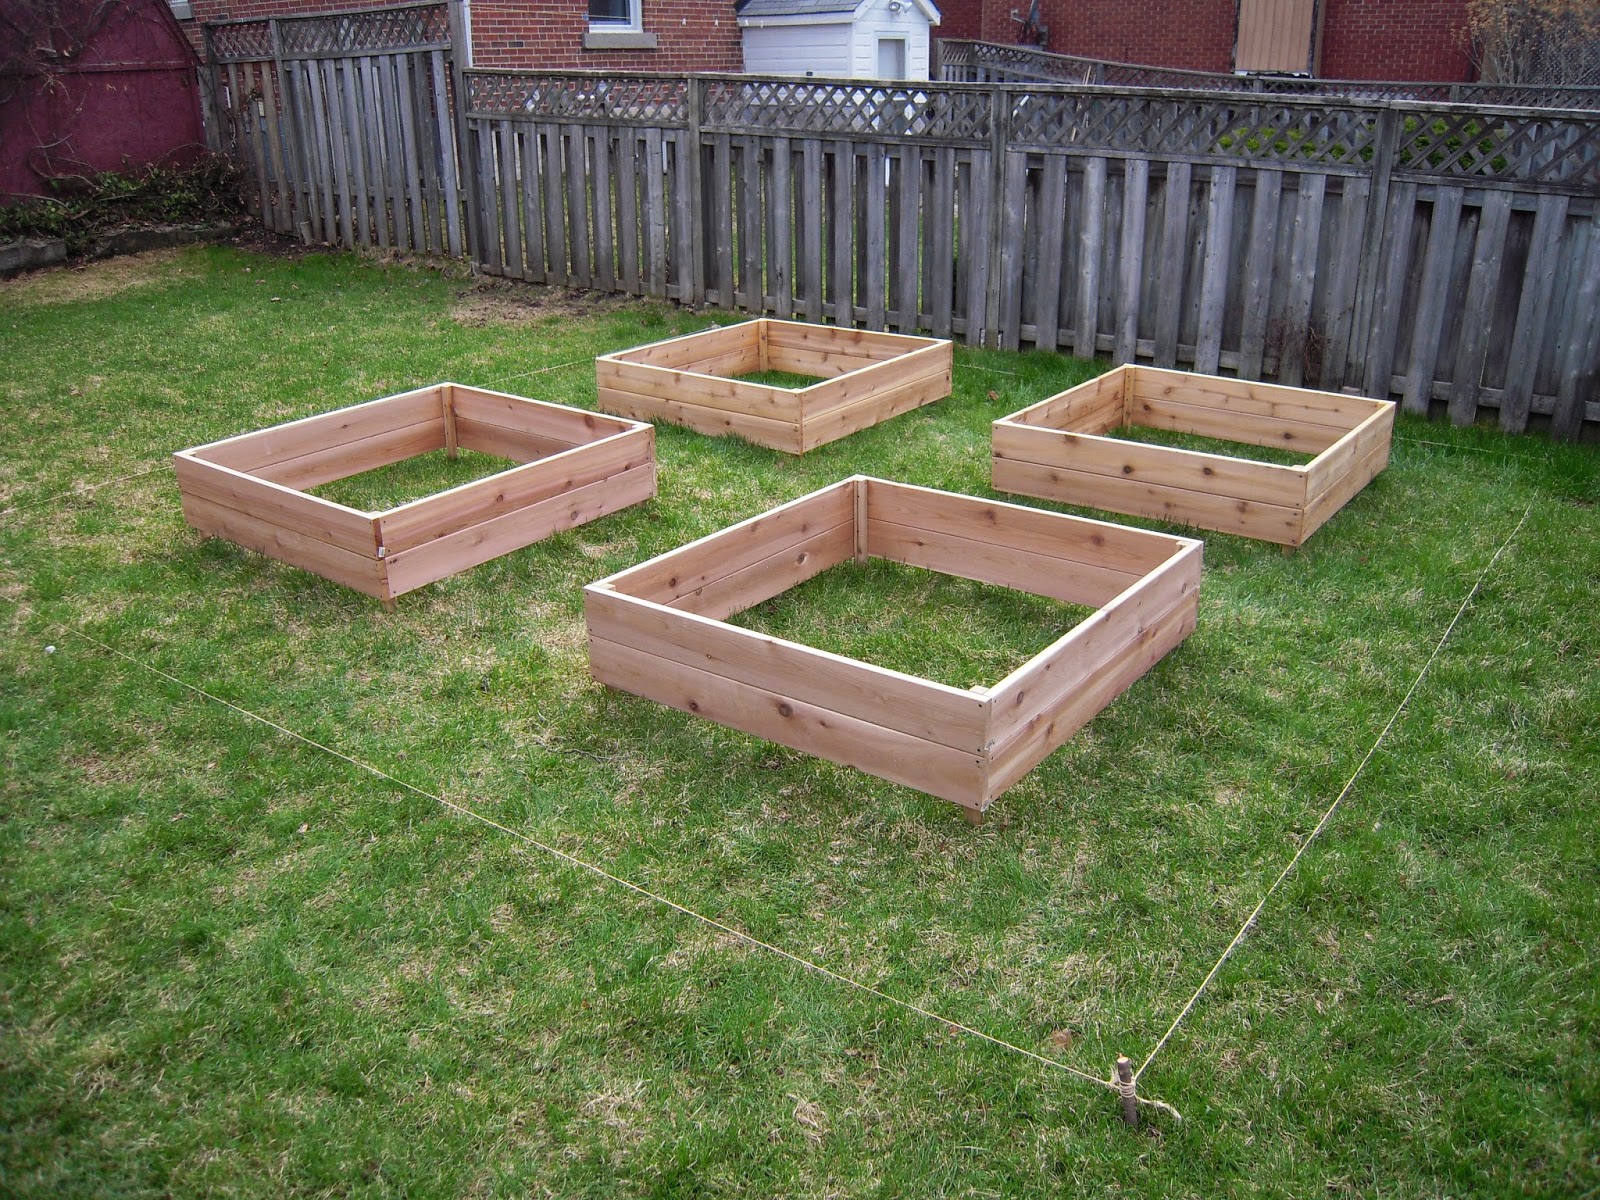
As I have already indicated in some of my last posts, this year I am diving into vegetable gardening in my backyard! I have planned on making four raised beds to house a variety of tomatoes, zucchinis and a number of other yummy things. This past Easter weekend the man and I got started on building those raised beds. Two of the four are done, we only bought enough lumber for two to begin with. I think they look great, now all I need to do is dig out the lawn, set the beds in, fill them with soil and get growing!


The beds are made of cedar (rot resistant and not treated with nasty chemicals) and are each 4' by 4' square. I plan on surrounding the beds with mulch and hopefully making a neat stone or brick boarder against the surrounding lawn. Once the other two beds are made I can give you a better idea of how much the beds cost to make - not the cheapest because of our choice of wood, but not too outrageous and since this is the first year things are going to be more costly, we are starting from scratch after all. The biggest challenge (as I see it) will be finding the right blend of soil to fill the beds. I know it's my first year and I can't expect 100% success, but I hope to get things off to a decent start with the right mix of soil, so a little research is needed.


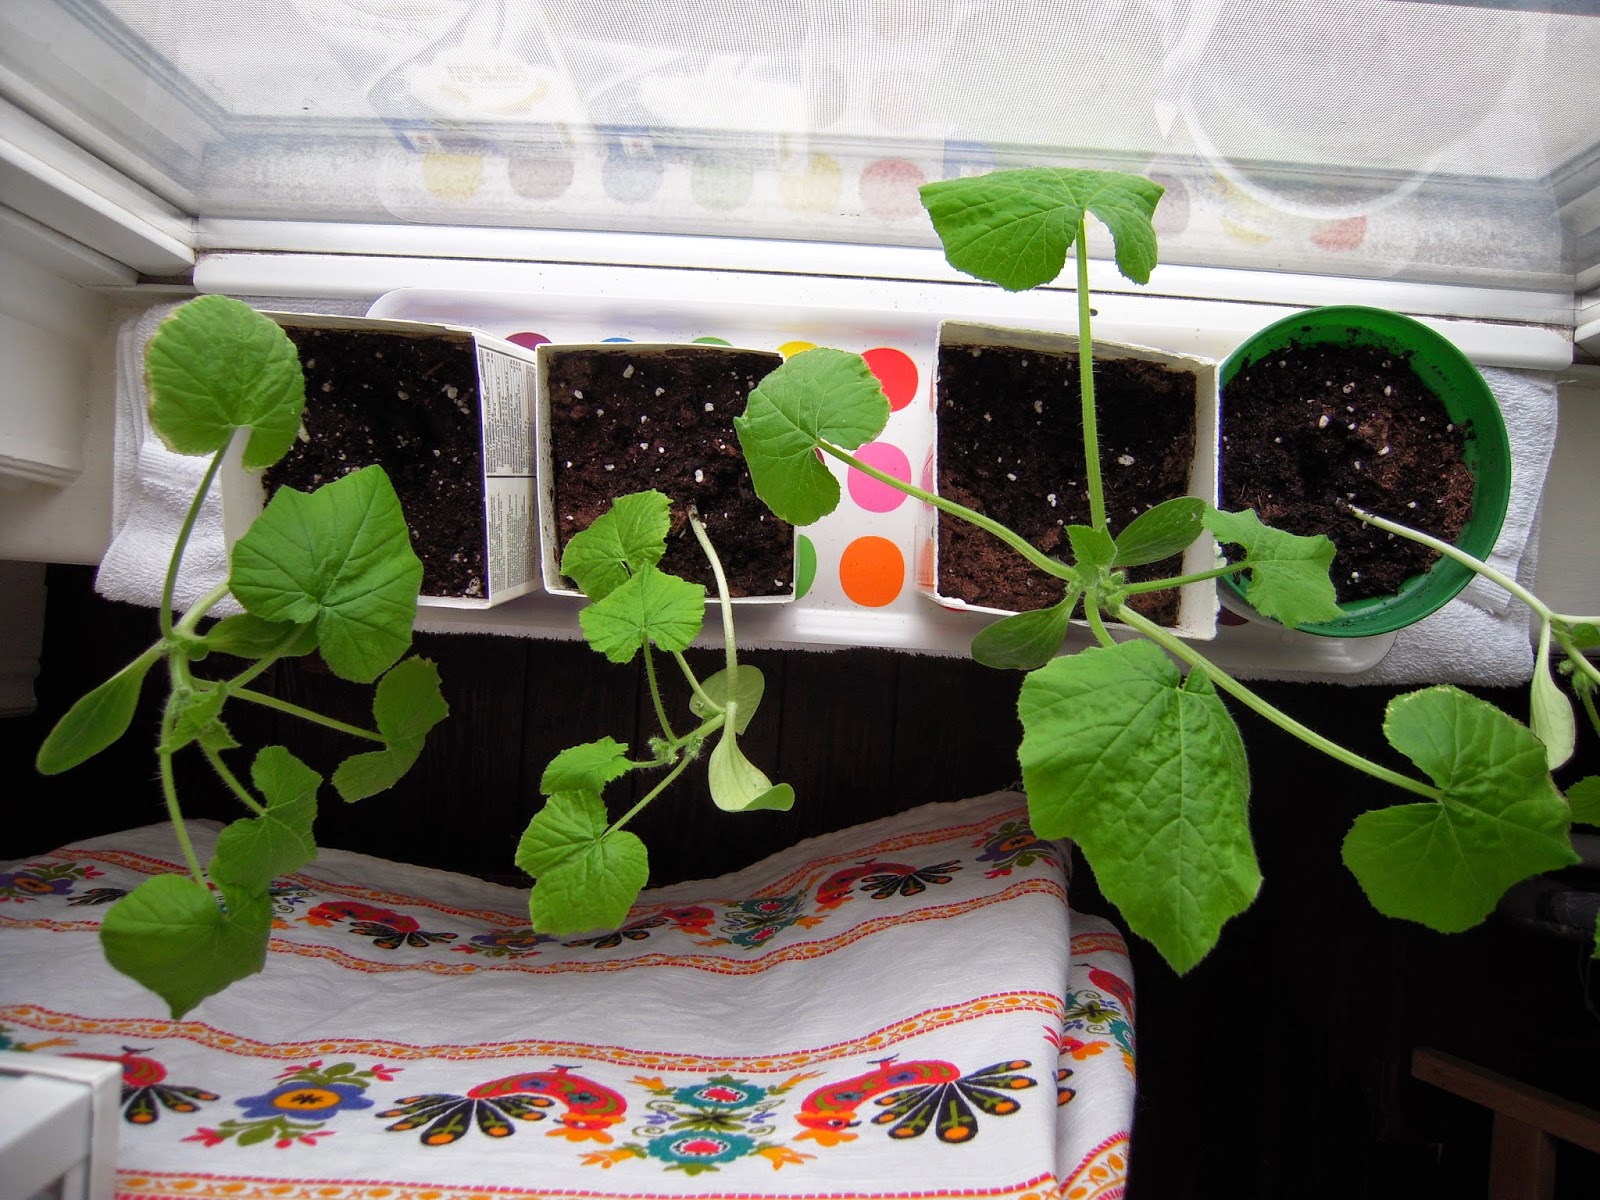
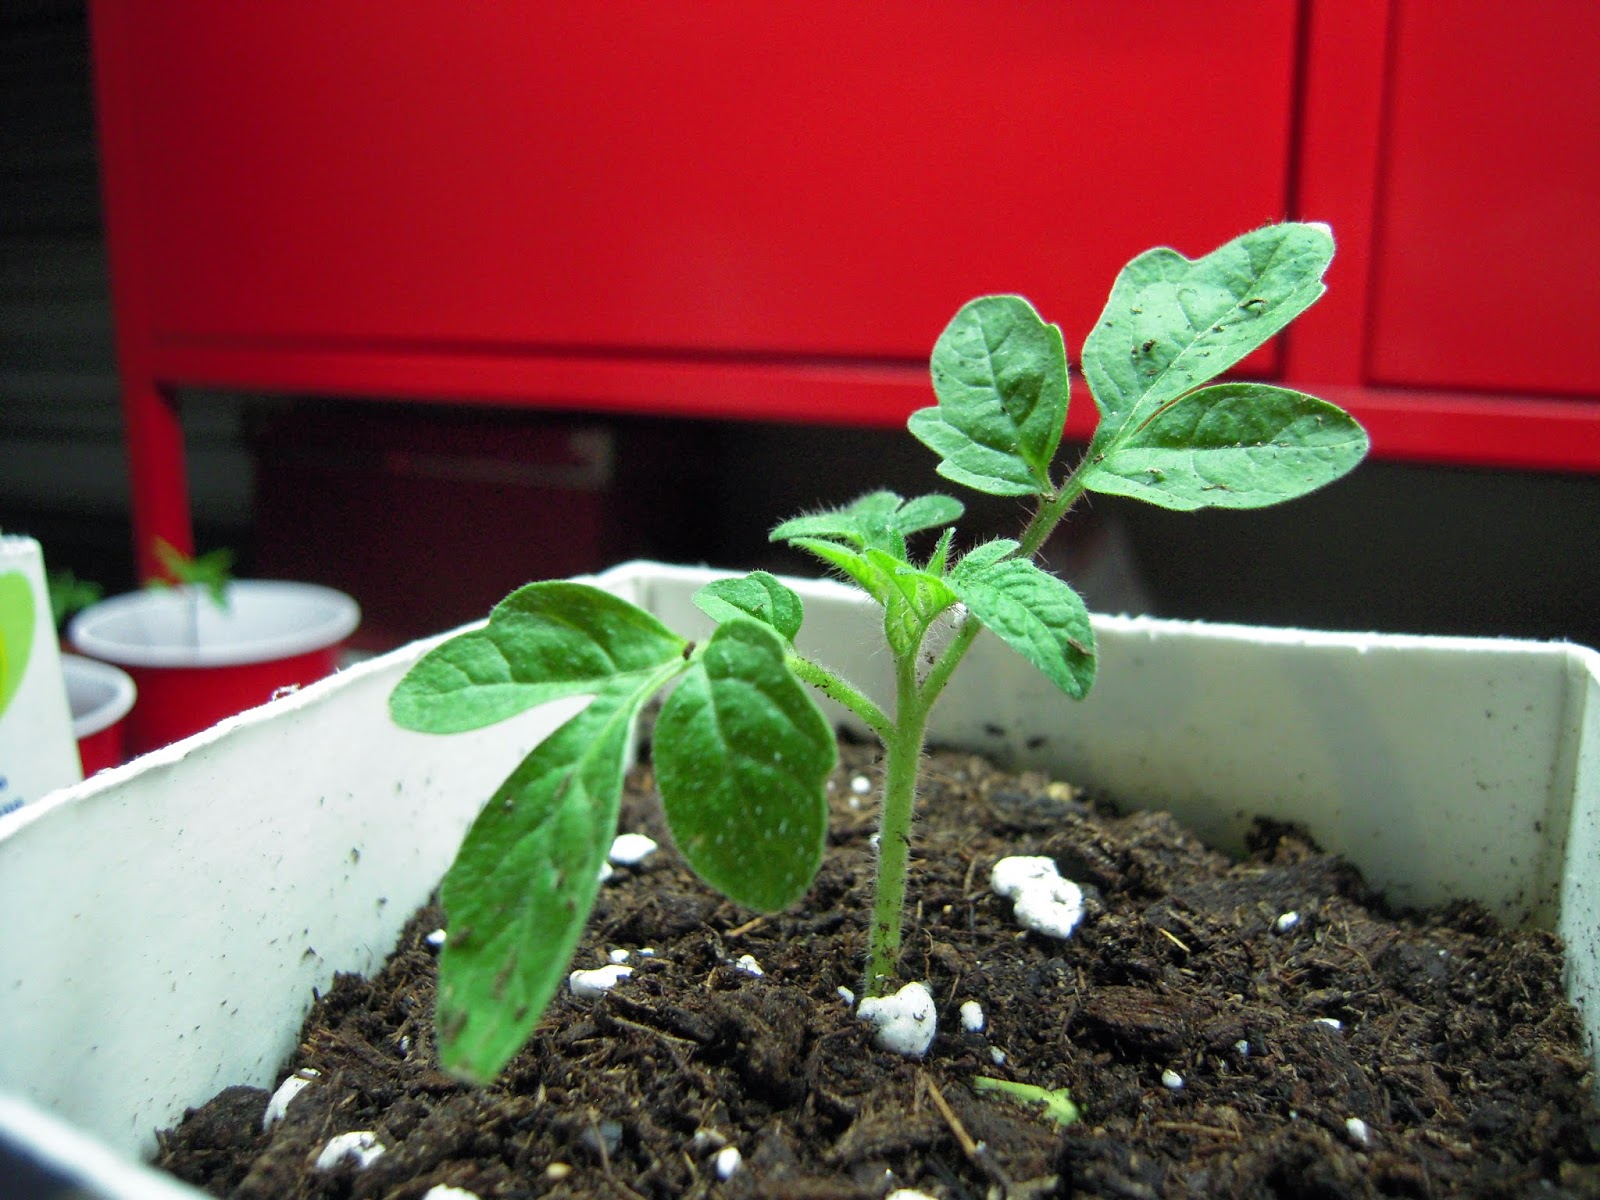
What about those seeds I started? Well as you can see in the photos above, some of these plants cannot wait to get outside! The zucchinis* are mammoth and need to get outside sooner rather than later, they look like they are getting flower buds (too soon!). Fingers crossed that the weather works in my favor, I want to get these plants out of my house and into the yard fast!

*Those zucchini photos were actually taken over a week ago, but I'm only now getting to post them...needless to say, the plants are now even larger than pictured!

Tuesday, 15 April 2014

Garden snaps 2014: the beginning

This post is my official garden kick-off for 2014! Admittedly I did not get any photos prior to the garden clean-up, which I started last week on one hell of a windy day, and which continued for most of Saturday, but believe me, you aren't missing much. The garden was, as anyone who lived through this past winter in South-Western Ontario knows, a horrible disgusting mess due to the hellish winter.

The first thing to tackle was cleaning up all the leaves, garbage and other crap that had blown into the yard over the winter, in addition to cleaning up the mess from the roofers that were here a few weeks prior. Sadly, the roofers did not clean up after themselves like they said they would, I will make a long story short, but due to all the trouble we had with the roofing company and poor quality of work and customer service, I gave up on them and decided to clean up the debris myself. Next I cut in the edges of the flower bed in the back to tidy things up. I had attempted to do this last year, but once things get growing it's a much more difficult job, so this is the time to do it. I will be getting some brick or stone edging to keep things neat and tidy.


There was a lot of raking to do over the lawn, and I mean a lot! The grass became very matted with the weight of the snow. I have already noticed a difference now that the bulk of dead matted grass is gone, new green tufts of grass are showing themselves! One of the other big jobs that was waiting for better weather was the removal of a tree (actually two) in the backyard. I love trees, and hate the thought of cutting down any healthy trees unless there is a real good reason, so this was difficult for me. But there was a tree in the backyard that had been planted too close to the fence, I mean really really close to the fence! We have not even been in the house for two yeas and have noticed how much the tree had grown. Giving it another one, maybe two years and it would be pushing the fence over. The tree (I honestly don't know what type it was, but some sort of maple) was too big to dig up and relocate, so all we could do was cut it down.


Another slightly smaller tree had to be removed, this one appears to have been a random tree that sprouted from a seed that landed in between some rocks between our shed and the neighbors fence. It was about ten feet tall and looked healthy as anything, so it was another unfortunate thing to have to remove it, but there was no way it could be left, and again, no way it could be removed and relocated, I couldn't even find the base of the trunk, never mind roots! In place of these trees I will be planting some bushes and other plants that are more suited to the yard. As much as I would like a big tree in the backyard, the yard itself is just a bit too small for any trees with the potential for major growth.


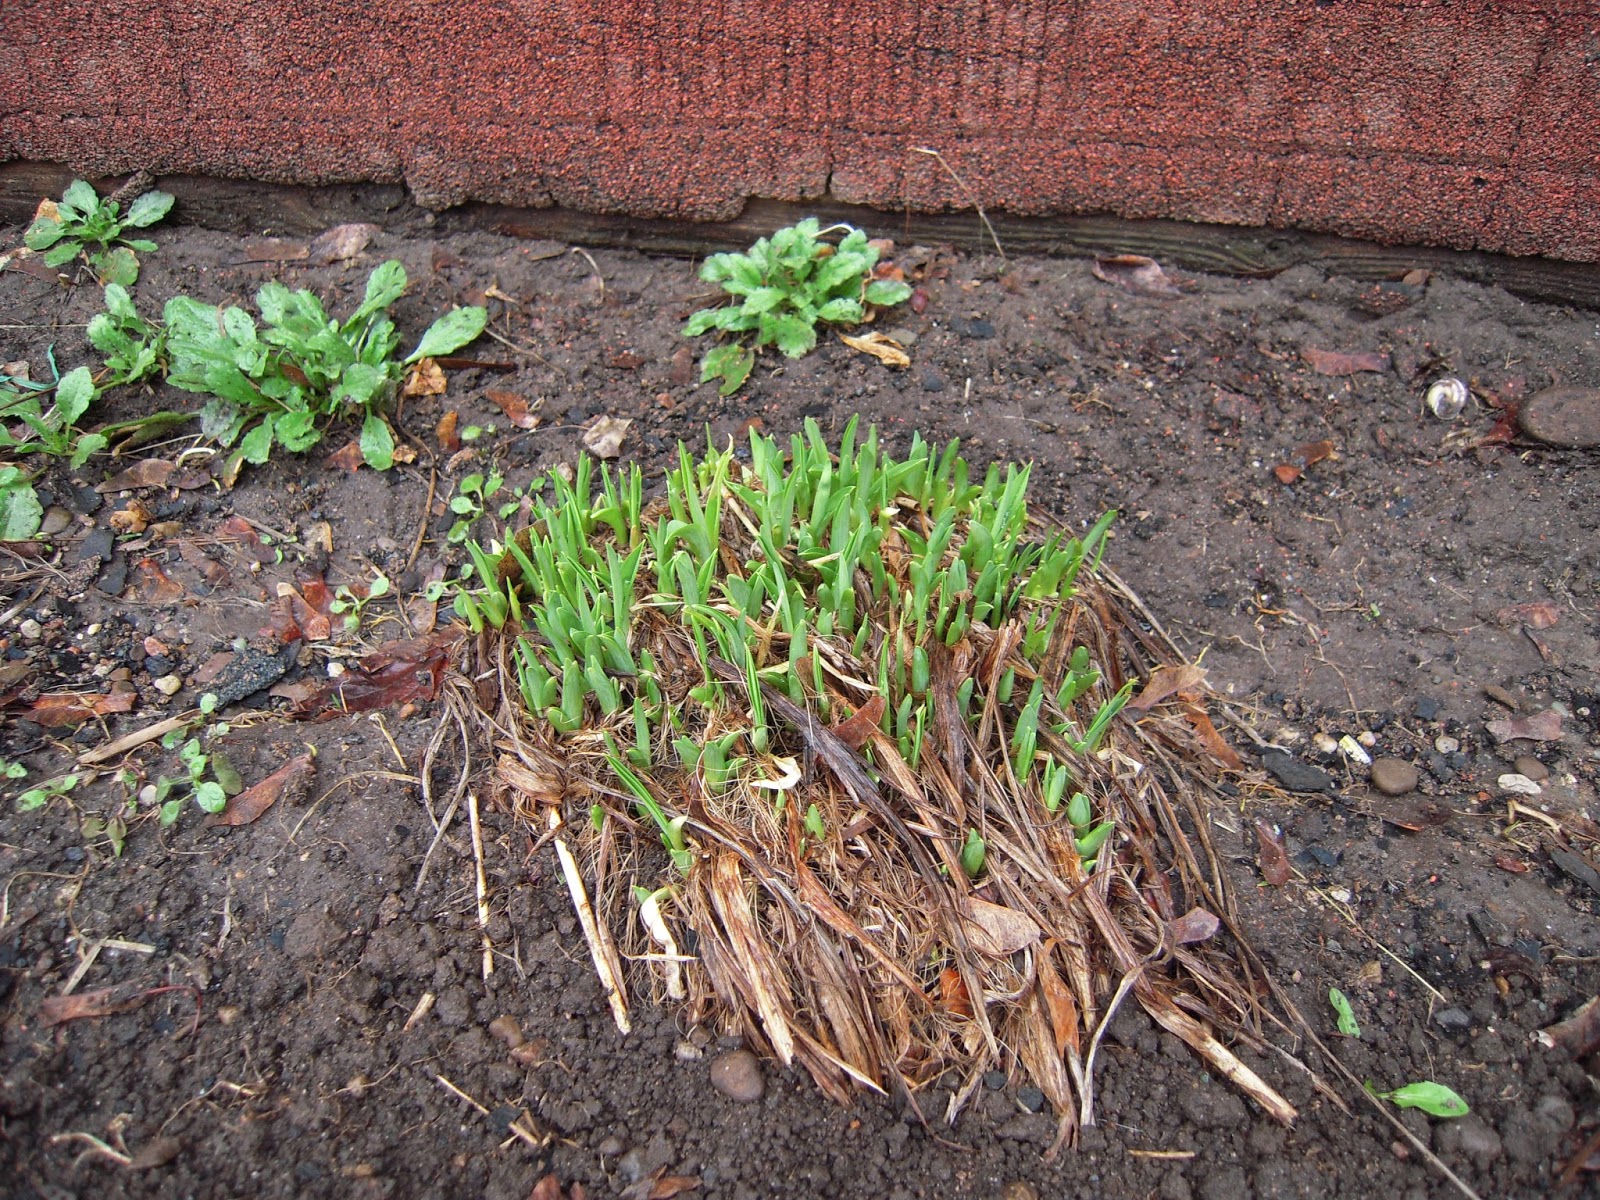
There are signs of life in the garden, and I am so glad to see that the hellish winter did not kill everything off (like I thought it would). Seriously, the winter was relentless. Usually if we get snow there is a time when things melt away a bit before we get another dump of snow, but not this year. Anytime the snow started to evaporate even slightly, we would get another dump of snow. With each new snow storm, the previous snow compacted and became rock hard ice, encasing and flattening everything. At this time all of the snow and ice is gone in the yard and some of the hardiest plants are coming back to life.


...and who would believe?! The giant dandelion that taunted me last summer in the rock garden is back (I suppose it never went away). I could never get it out, since it is rooted under one of the largest rocks. Here it is, already green and casting a shadow over my little rock-dwellers!

Monday, 14 April 2014

A few updates

I have been keeping myself mighty busy over the past couple of weeks, which explains my lack of posts. Here are a couple of updates of the goings-on around here:

My last post was about my fitness situation (or lack thereof) and starting some exercise classes. The first spin class was great, maybe too great - I pushed myself too hard and basically couldn't walk for 4 days! Since I was immobile when Thursday's first Zumba class rolled around, I opted out of that class and will be picking up another Zumba class in May. I was disappointed to have to make that switch, but what's the use in paying for classes if you can't go?! The second spin class was better than the first, but I took it easy so as not to bust my leg muscles again. Tonight will be class three, I will push myself a bit harder tonight, but I will still have to keep things in check so I don't over do it...this is what happens when you are as inactive as I was all winter long! As far as weight loss, I sadly haven't budged yet, but I feel better for going to the spin classes and have been going for walks almost every evening - that is something, right?!

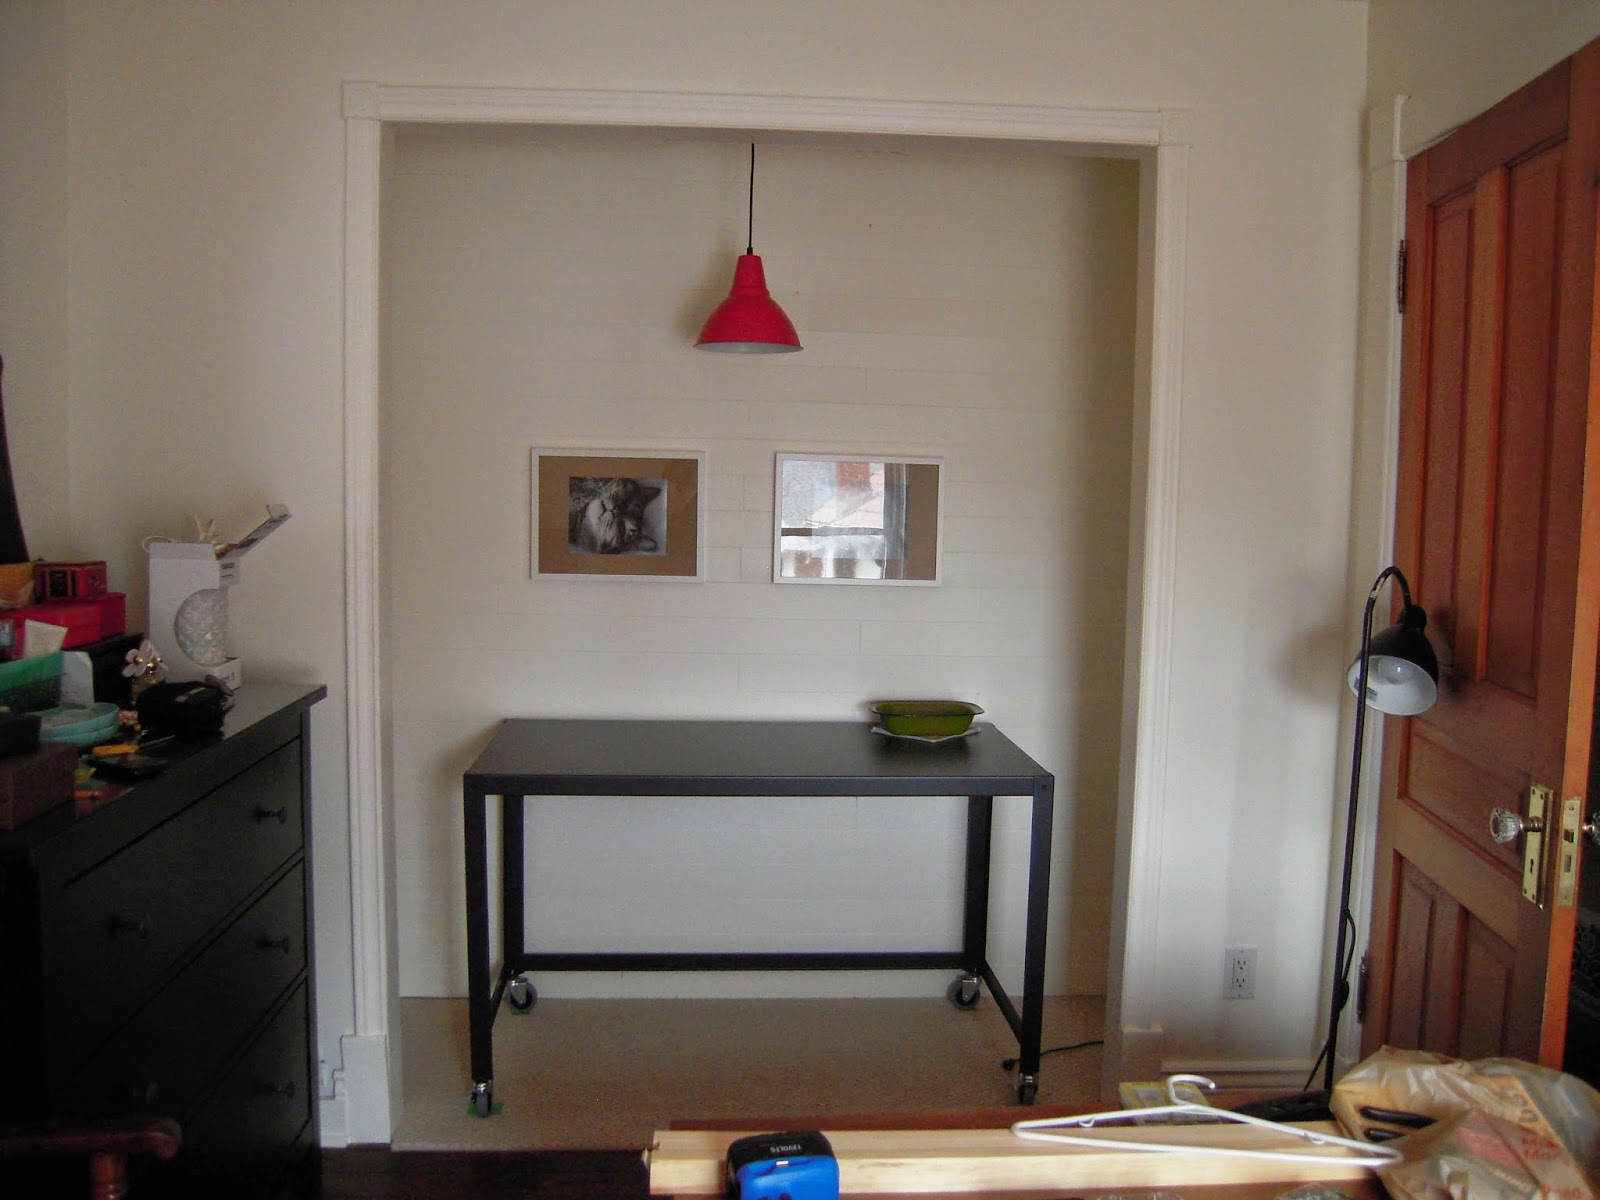
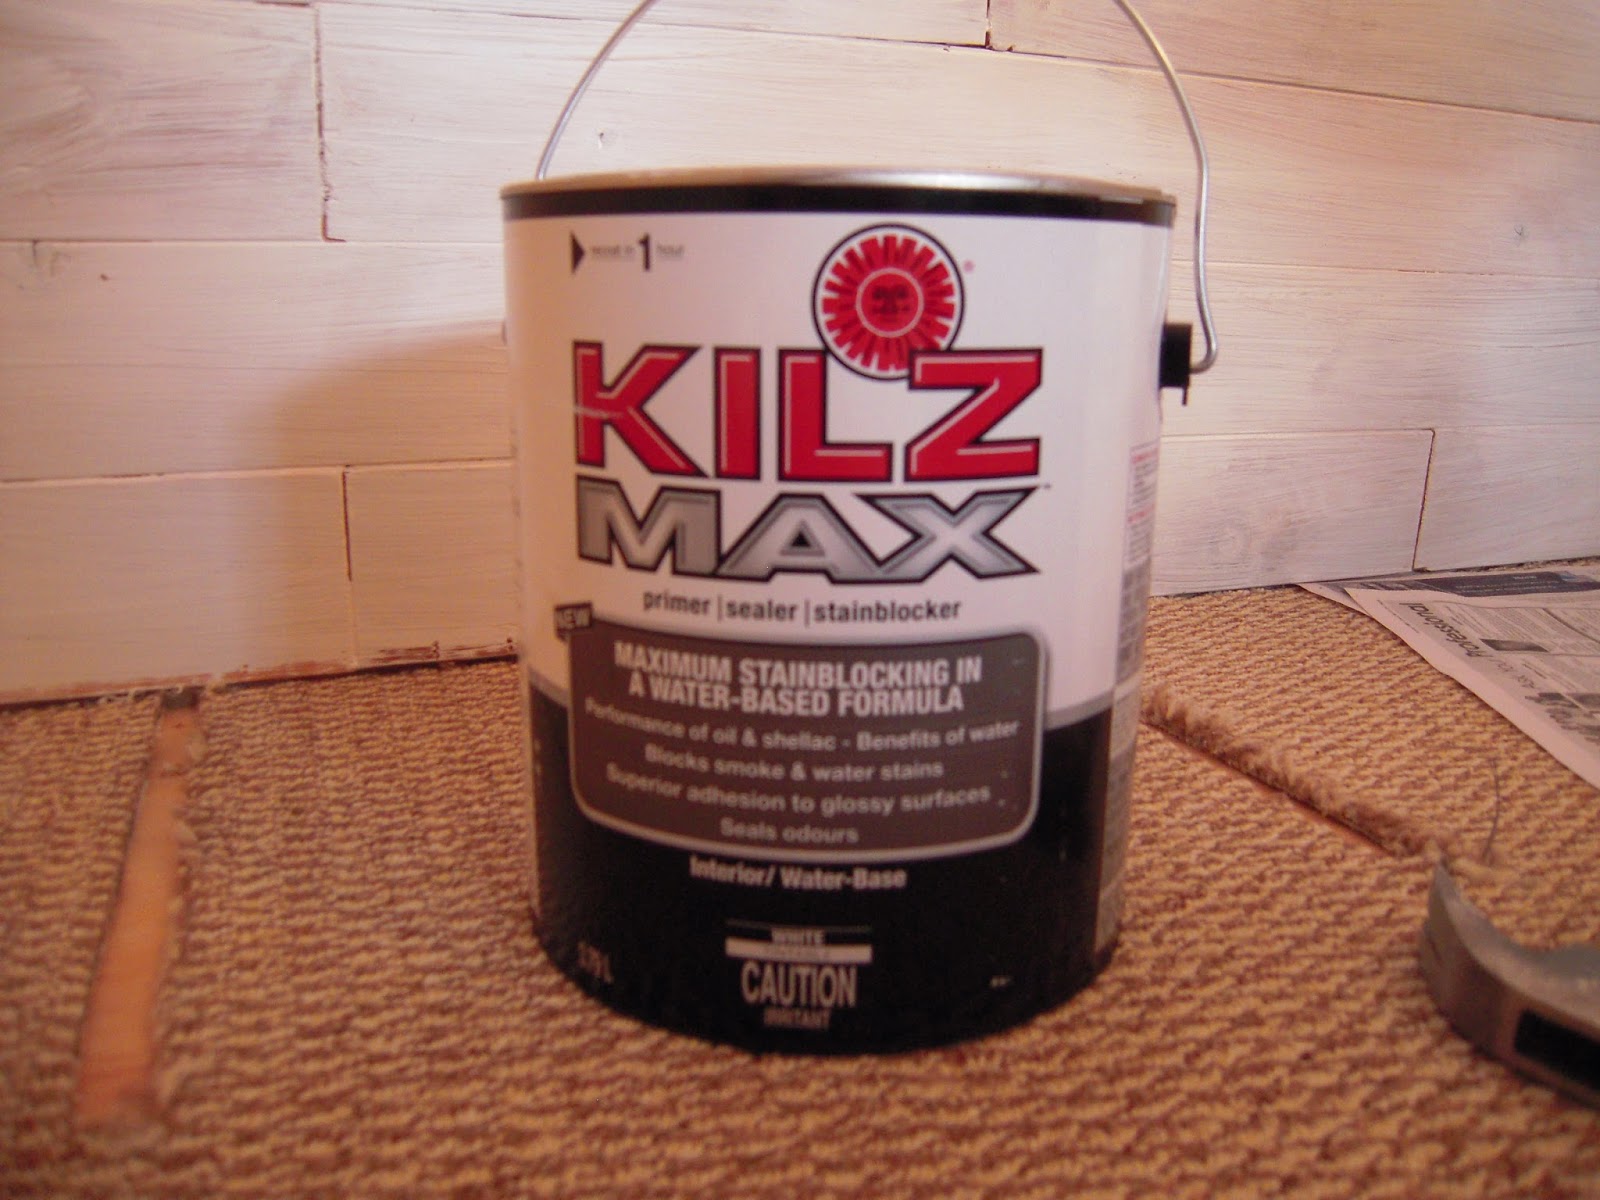
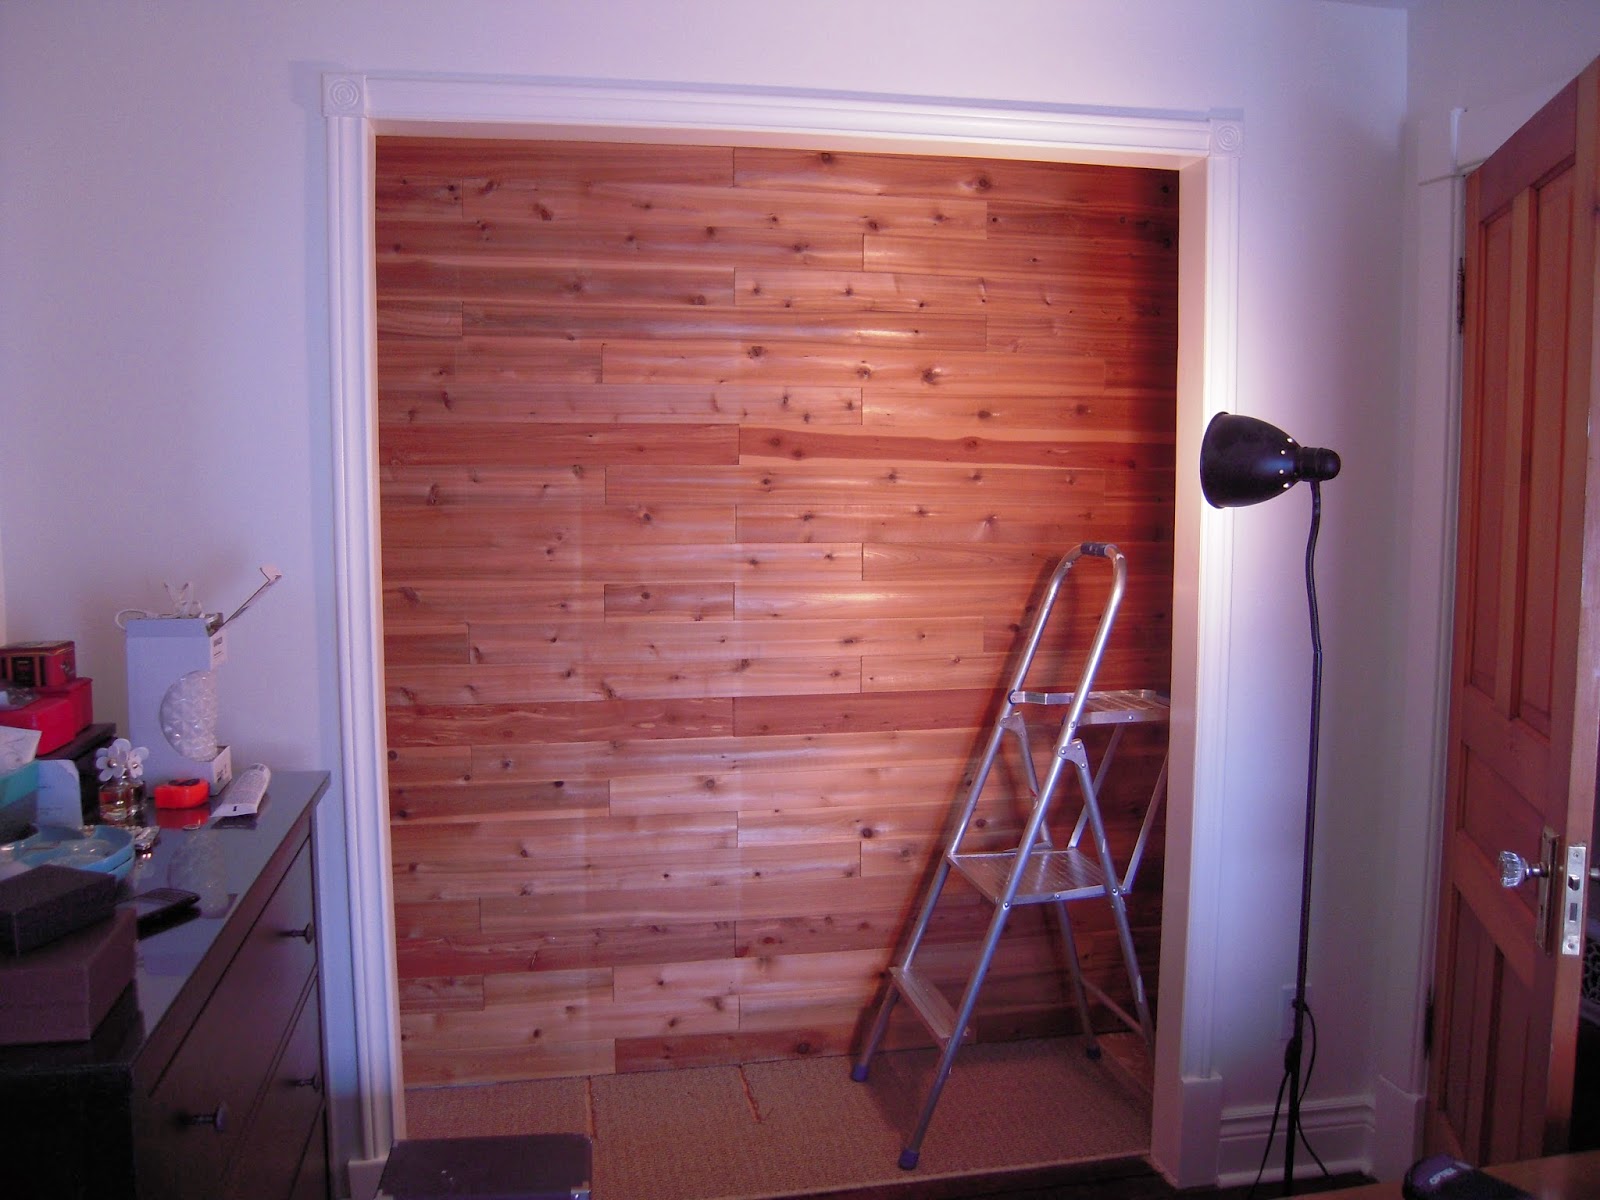
If you recall, I have a project (or two or three!) on the go: the closet/office makeover. Things have been going quite well so far, and in regards to painting I am done! What was involved with painting that awful cedar? Some wood filler and sanding in patches, primer, primer, primer, primer and more primer followed by paint, paint and more paint...with a bit more paint for good measure! I have a light fixture up but need to get some new electrical outlets in the closet. I needed to carpet the floor of the closet because what was there was just unfinished hardwood with plywood sheeting nailed over top (and covered in paint...not my paint though!). I was faced with the same thing in the master bedroom closet and got away with buying a carpet square from Home Depot and cutting it down to size. Unfortunately this closet is about a foot wider and the carpet I had was a foot too short. Wanting to keep my expenses to a minimum I was going to take the same approach, with cutting down a store bought carpet but everything at all of my local hardware stores was either a foot too short or many many feet longer than I needed (what a waste it would be). So I used the leftovers from the master bedroom closet, leaving a naked patch of 6 or so inches on each side of the closet. Not ideal but some shelves and storage baskets will hide the bare patches...so don't tell! The computer desk is in place along with some pictures on the wall. What is left is to make some storage shelves to tuck away on either side of the closet. The goal is to have the shelves and office space done within a week. After the closet is complete I can finish the rest of the spare room - there isn't much to do, just finishing touches, curtains, hanging photos, that kind of thing. Sneak preview of closet below:


Check back in for the finished project, like I said, the entire room should be done by the end of April. I am really pushing to get everything done because in a house as small as this, one project hinges on another getting done. I am sick of having so many half finished projects and it's time to get a move on! Plus there are already guests lined up to stay in the guest room...not until September mind you, but there is no sense in leaving this work until the last minute, plus working in the summer heat in an un-airconditioned house is brutal!

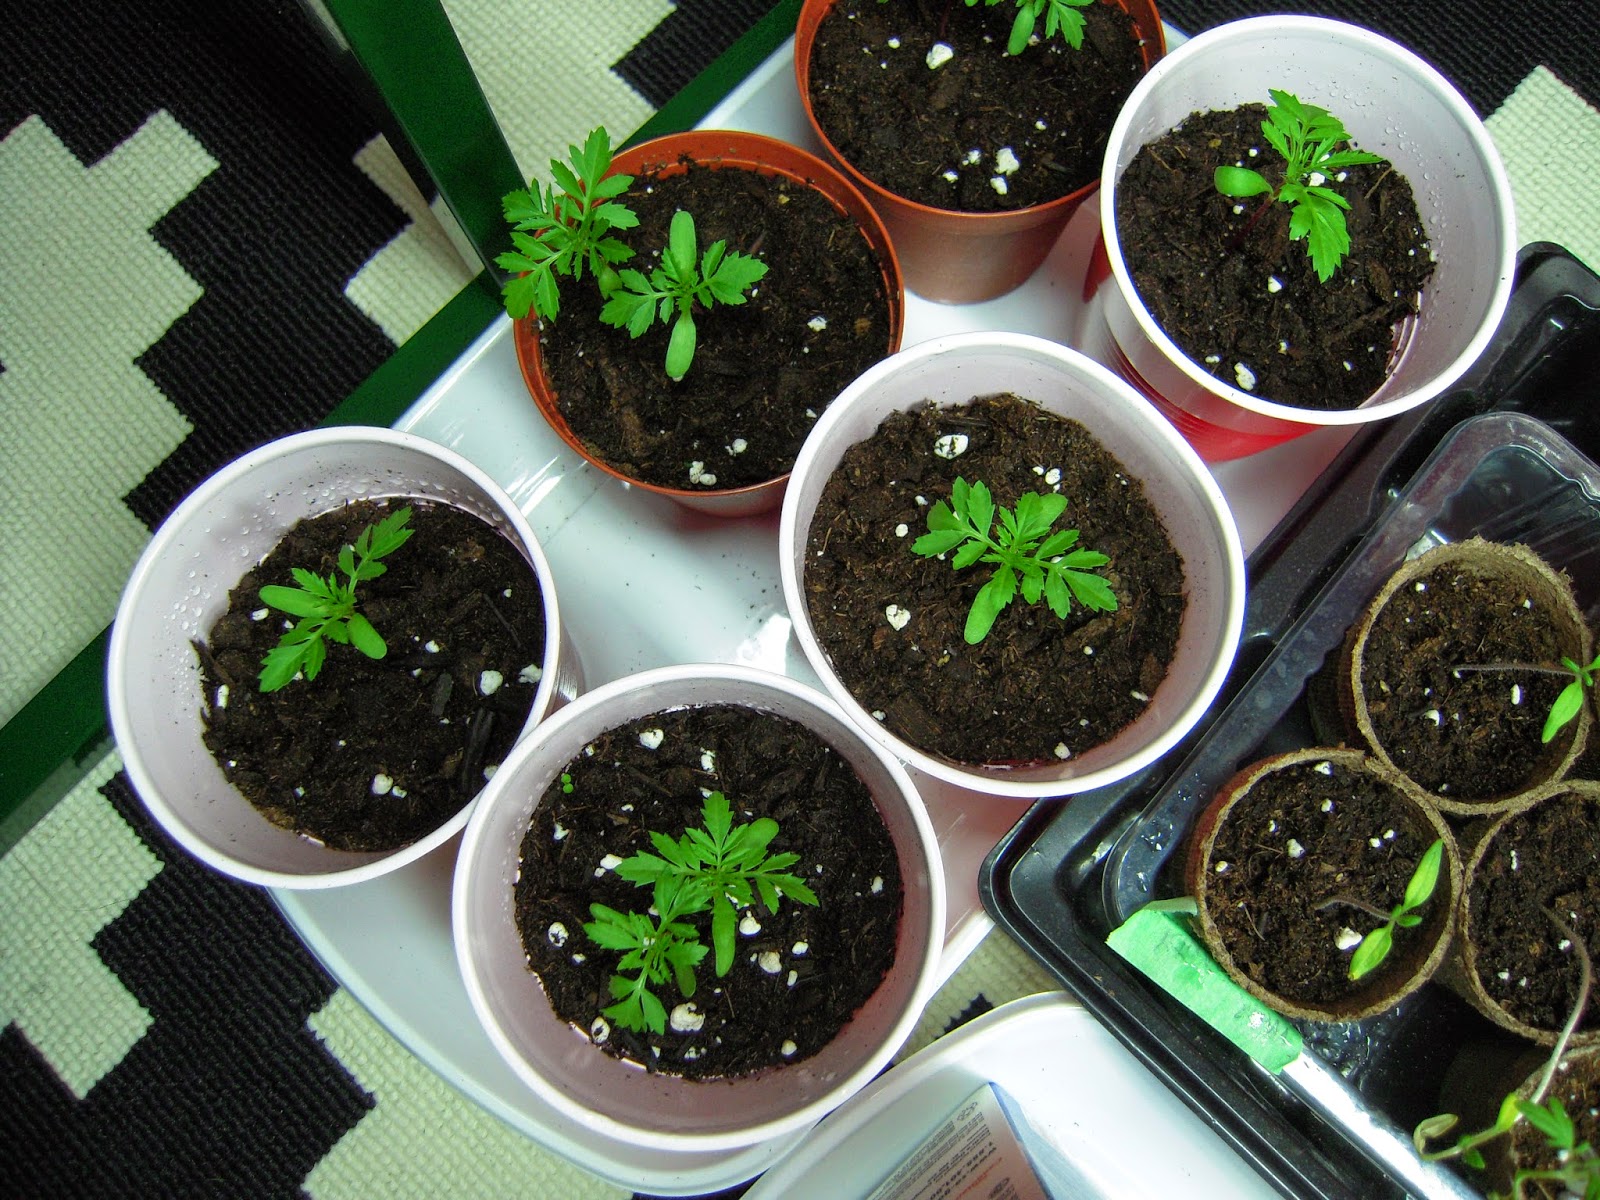
And one last quick update for today...my plants! Those seeds I planted that sprouted into baby plants are doing fairly well. I did lose several seedlings; some went moldy, others seemed to wither and die and some got too leggy and weak and flopped. I still have a good amount of healthy plants, but they just didn't seem to be doing as well as I would like - most likely because there has not been enough light. So this weekend I went to my local hardware and farm supply store and bought a grow light kit. I had hoped I could get away without one, but why go to all the effort of starting seeds to let them die due to lack of light?! I got a decent set up at a good price and now the plants are basking in fake sun! I hope that after a few more weeks (more like a month) of grow light and the plants will be bigger and stronger and I can prepare them for heading out into the big bad world! And while the plant babies thrive indoors, I need to get a move on outdoors, building and preparing my raised beds.


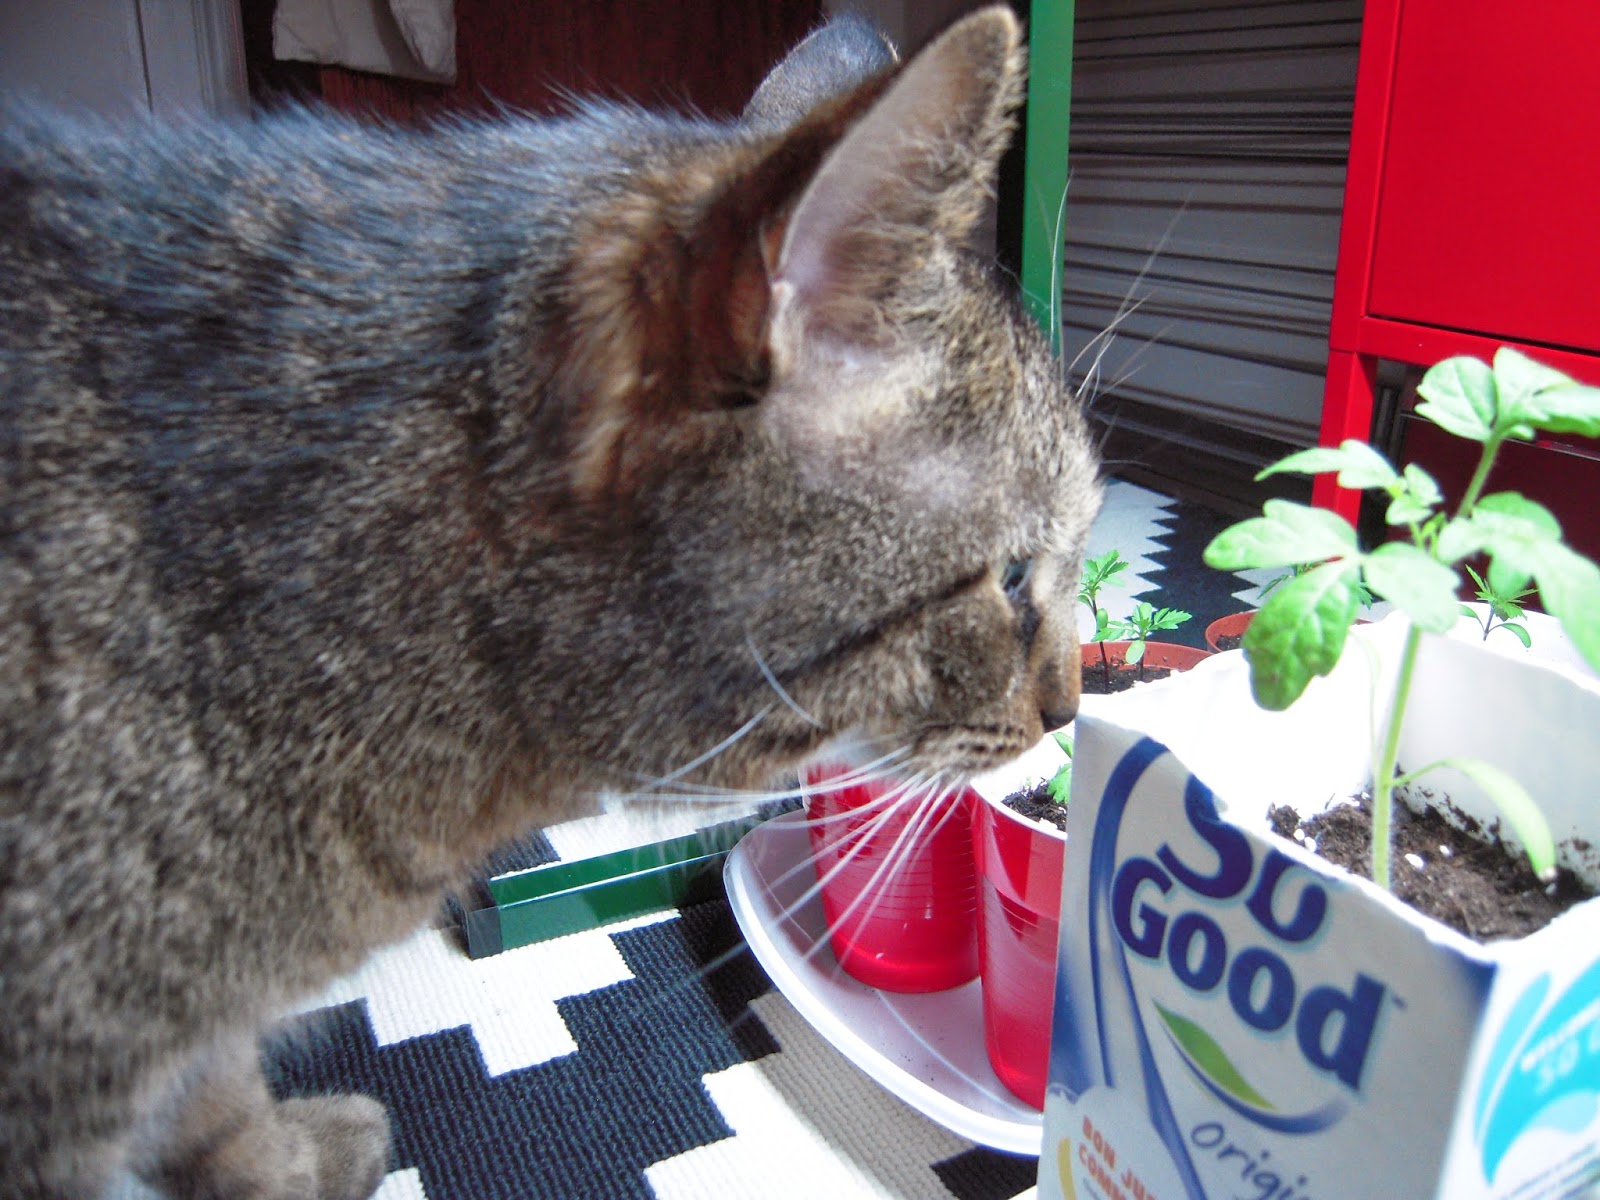
***Bonus photo time! Buster cat snuck in to the plant sanctuary while I was taking photos, and since I was there to supervise, I let him check things out...


This is a cat being not-so-sneaky licking his lips while approaching the plants! With his track record of plant destruction, I knew what he had in mind. 


Buster got up close to a tomato growing in an old soy milk carton...I am positive he is thinking "why won't she turn away for a second so I can have a taste...just a leeeettle bite?!" and of course "why the hell doesn't this girl drink real milk?" Seriously, the biggest disappointment in this cat's life was when I switched to soy milk, he lived for breakfast time, sneaking milk from my cereal.

Tuesday, 1 April 2014

Day one/week one: Working out and getting fit

Actually, yesterday was day one, but here I am posting a bit late. After such a miserable winter, full of filling comfort foods and inactivity, I have decided I need to move my butt if I really really really want to get in shape. I will be honest, I have tried to lose weight in the past, there have been many failed attempts. I have also had some success, but after looking back on the hard work it took to be successful, I have felt pretty discouraged in doing it again. Will this time be any different? I sure hope so!

So what are my goals? What am I doing?

For starters, if you know me (and for those of you who don't) I am on the heavy side - chubby, fat, overweight, whatever you want to call it, that's me. I'm not saying I want or NEED to be skinny and that I am hating myself and my fatness right now, but I know I can and should be healthier and it's up to me to make that happen. My goal is to get in shape, lose between 20-30 pounds, have more energy and I hope to feel better all around (less aches and pains, which I know are due to being too heavy). What am I doing? For starters I am working on cutting out all junk foods (chips, chocolate...chips...oh I love chips). Bread is already out (and I feel better for staying away from it). What I am eating are more veggies, fruit, beans and grains. And everything in moderation. I have also signed up for a couple of exercise classes at a community centre. Why a community centre instead of a gym? It is much more cost effective. I have paid for 12 weeks of spin classes and you can bet I am going to every last one. Gym memberships are pricey and it happens all too often that you get one and don't really get to the gym as frequently as you should. Also, gyms can be intimidating, lots of workout-addicted muscle-heads (no thank you). Last night was my first spin class. A small group of 8 (me being the youngest!) and it was intense, but not crazy and competitive. Today, however, I can't walk! I have used some muscles I did not know I had, and those muscles are fighting back, angry because I disturbed them. But the pain has to be good pain, right? I am hoping I recover for Thursday, because that is Zumba night (yay!). I know of some people who have taken Zumba classes and said they were really fun and a great workout, so I thought I would give it a try. In between those two classes, I intend on going for more walks, now that the weather is starting to improve.

I will post my progress as I go, but by the end of the summer I hope to be a new person!

Thursday, 27 March 2014

Time for a project: office in a closet

As I have mentioned in the past, our house is not huge - its a good size for the two of us (and the pleasantly-plump cat), but being an old house it can be difficult fitting furniture and all of our modern belongings inside! For example, where do we put a computer desk? The master bedroom is tiny, and we can barely fit our dressers inside as it is! The smallest of the bedrooms is my studio space and I didn't leave room for a computer. The third bedroom is the guest room which has been a sort of dumping ground and it has been home to the computer since we moved in (sitting on a tiny kitchen table I had in my first apartment). The problem is we have finally got a bed in the guest room, and although its only a double, it takes up most of the floor space. Where does that leave the computer? Sadly, its jammed in the corner of the room at the end of the bed, which I basically have to climb over to access...not good.

I have measured and re-measured and shuffled furniture around like a crazy person, but there just isn't much space for the computer, so I have been left with only one option: turn the closet in the guest room into office space! Why not? What else is going in the closet (a closet without doors)? So let the transformation begin! I hope this project does not take too long, since I'm getting sick of sitting sideways on an old kitchen chair to use the computer. I will post my progress and the end result as soon as I am done. For now here is the before (sort of...there was a badly put together closet organizer in the closet but I removed that about a week ago and FYI: whoever lived here previously and installed that organizer should be jailed, this had been a child's room and the entire setup was NOT secured to the wall WHATSOEVER!).


What will make this project a bit more challenging is that the closet is a cedar closet, well just a regular closet that someone installed crappy cedar wall planks in. I couldn't be sure what is behind the cedar, so rather than taking it down and risking a whole can-o-worms situation (like no drywall or destroyed drywall or who knows what else - this house is over 100 years old after all) I am going to paint the cedar. I couldn't find much information on painting cedar, but I understand it needs to be primed and primed well due to the tannin that will likely seep from the wood...even then it may backfire. I will keep you posted and if you too are looking to paint a cedar closet, you may pick up some information on what to do (or more likely, what NOT to do!).